Growing Sprouts at Home: Fresh, Nutritious Greens in Days
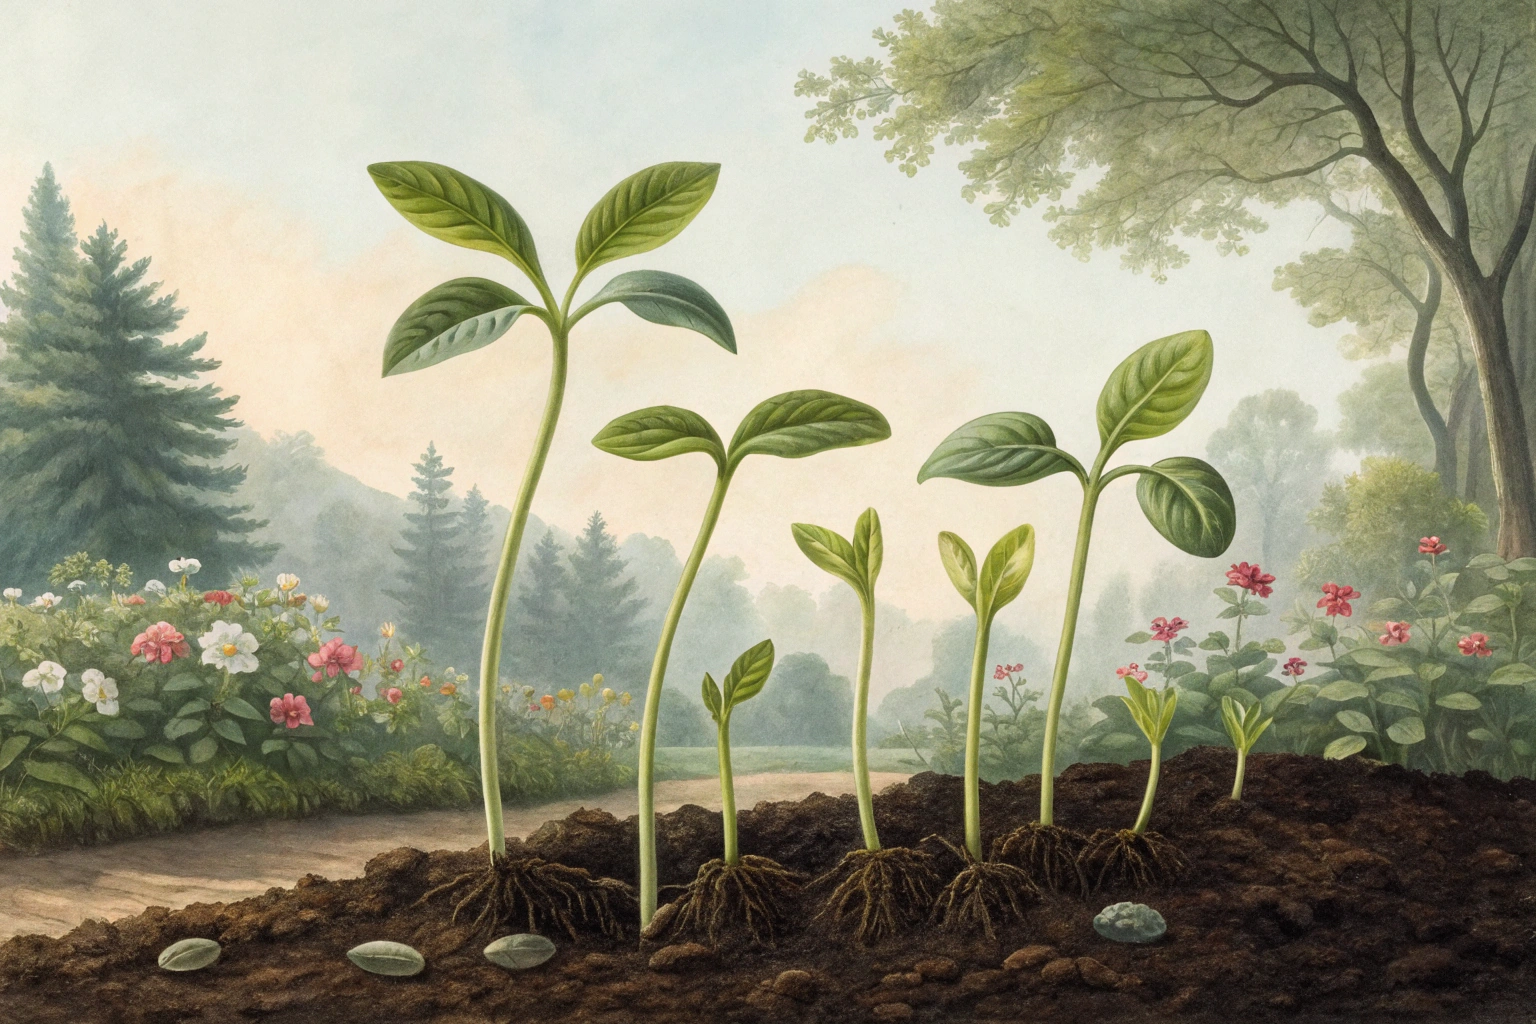
Growing sprouts
Growing sprouts takes little more than seeds, water, and a jar. Growing sprouts boosts nutrition and packs fresh crunch into every meal. With growing sprouts, you harvest microgreens in less than a week—right on your kitchen counter. Discover which seeds work best and why rinsing matters. Grab your jar; it’s time to see how easy eating fresh can be.
Cheatsheet: Fast Home Sprout Harvests
🌱 Benefits
Ready in 3–7 days. Up to 100x nutrients of mature greens. Boost vitamins, enzymes, and protein for self-sufficiency.
🛠️ Tools and products you'll need
- Sprouting seeds (broccoli, mung bean, alfalfa, radish, lentil)
- Wide-mouth glass jar or sprouting tray
- Sprouting lid or mesh cloth & rubber band
- Clean water (filtered preferred)
- Tray or dish for draining
📋 Step-by-step
- Add 1–2 Tbsp (15–30 ml) seeds to each 1 qt (1 L) jar.
- Cover with cool water. Soak 6–8 hours (room temp: 65–75°F/18–24°C).
- Drain. Rinse seeds thoroughly, drain again.
- Set jar at an angle, mouth down, away from direct sun.
- Rinse and drain twice daily, morning and evening.
- Harvest in 3–7 days, when 1–2"/2–5 cm shoots form.
- Final rinse. Remove unsprouted seeds. Refrigerate in a sealed container.
⚠️ Safety
- Use only seeds labeled for sprouting.
- Disinfect tools before starting.
- Discard if you smell sourness or see mold.
🥗 Uses
- Add to salads, sandwiches, bowls
- Blend in smoothies for extra nutrition
- Garnish soups or stir into wraps
Growing sprouts: fast food for plant lovers
I started Growing sprouts during a blizzard, when seed trays slept and the fridge begged for crunch. Three days later, a jar of broccoli sprouts tasted like spring, peppery and clean.
Sprouts are germinated seeds eaten root, shoot, and seed, usually at 2 to 5 days. They deliver big flavor and nutrients with pocket-change inputs and tiny space.
Sprouts vs microgreens vs shoots
Sprouts grow in water, no soil, eaten whole after brief darkness and a short green-up. Microgreens grow 7 to 21 days in media, then you harvest only the stem and cotyledons and sometimes first true leaf.
Shoots, like pea shoots, grow longer and chunkier, often 10 to 14 days. If you want speed and low gear, choose sprouts.
Gear that actually works
I have filled shelves with jar rigs, trays, bags, and one noisy automatic unit that annoyed the cat. The short list below stays in rotation because it cleans fast and drains right.
- Mason jar plus stainless mesh lid, 1 quart or 1 liter, cheap, durable, easy to sanitize.
- Stacking tray sprouters for mucilaginous seed like chia or basil, fine mesh prevents clumps.
- Breathable sprouting bag, hemp or linen, great for travel and large beans, drains in seconds.
- Automatic sprouters that mist on a timer, useful in hot climates, usually 75 to 200 USD or 70 to 190 EUR.
Keep it simple if you are busy. A tilted jar in a dish rack beats fancy gear left unwashed.
Commercial picks and why
- Stainless mesh lids over plastic caps, they resist odors and last years.
- Wide mouth jars for easy seed loading and hull removal.
- Trays with removable drain plates, less biofilm, faster scrubbing.
Expect 10 to 20 USD or 9 to 18 EUR for a two-jar setup that handles daily use. Buy two so you can stagger batches.
Seeds that stay clean and taste right
Use seed labeled pathogen-tested for sprouting from reputable vendors. I favor broccoli, alfalfa, clover, fenugreek, radish, mung bean, lentil, green pea, and sunflower for jar sprouting.
Storage shapes quality. Keep seed in airtight containers at 40 to 50 F or 4 to 10 C with low humidity and rotate stock.
- Mild crunch: alfalfa, clover.
- Spicy bite: radish, mustard.
- Hearty protein: mung bean, lentil, pea.
- Sulforaphane-rich: broccoli, better at 3 days.
Safety, the part I never skip
CDC: “Do not eat raw or lightly cooked sprouts if you are pregnant, an older adult, or have a weakened immune system.” The agency has tracked more than 2,600 U.S. illnesses linked to raw sprouts since the 1990s.
I treat sprouting like food preservation, clean in and clean out. Wash hands, scrub jars with hot soapy water, then air dry fully.
Rinse seeds in cool potable water before soaking. Use potable water for all steps, filtered if your tap carries strong chloramine off-flavors.
Keep sprouting temps near 65 to 72 F or 18 to 22 C. Above 75 F or 24 C invites slime in summer kitchens, so move jars to a cooler room.
Buy tested seed and manage time and temperature before anything else. If sprouts smell sour or feel slippery, compost them without debate.
If you want extra risk reduction, cook sprouts in stir-fries or soups to 165 F or 74 C. That still gives crunch if you add them at the end.
Source notes: CDC Food Safety on Raw Sprouts, FDA and university extensions have echoed these practices for years. I keep those pages bookmarked and update my routine each season.
Step-by-step that gets repeatable results
- Measure seed. For a 1 quart or 1 liter jar, use 1 tablespoon or 15 g small seed, or 3 tablespoons or 45 g beans.
- Soak 6 to 8 hours in cool water, except mung beans at 70 F or 21 C for 8 to 12 hours.
- Drain fully, then tilt the jar at 45 degrees for airflow. I set mine in a bowl so the counter stays dry.
- Rinse and drain twice daily, morning and evening, with a vigorous swirl.
- Green-up near a bright window for 4 to 8 hours on the last day, no direct midday sun.
- Final rinse, remove hulls if desired, then spin or pat dry, chill at 34 to 38 F or 1 to 3 C.
Target timelines: alfalfa 4 days, radish 3 to 4, broccoli 3, mung bean 3 to 4, lentil 3 to 4, pea 3 to 5. Dryness on the surface extends shelf life by days.
Dehulling without cursing
Fill the jar with water, swirl, and let hulls float. Pour off hulls while sprouts settle, then repeat twice.
For mung beans, pour into a bowl and agitate with your fingers. The skins lift off like confetti.
Yield math and cost sanity
One tablespoon or 15 g of broccoli seed typically gives 3 to 4 cups or 180 to 240 g of sprouts. Alfalfa pushes closer to 5 cups or 300 g in my kitchen humidity.
At retail, that equals 8 to 12 USD or 7 to 11 EUR of greens per jar. Home seed costs hit 0.75 to 1.50 USD or 0.70 to 1.40 EUR per batch from bulk suppliers.
Nutrition that holds up under scrutiny
Johns Hopkins researchers reported that three-day-old broccoli sprouts can contain 10 to 100 times the glucoraphanin of mature heads, the compound that forms sulforaphane during chewing.
I taste the heat when I chew them properly. If you want that chemistry to happen, slice or chew well and avoid drowning them in boiling broth.
Sprouts also bring fiber, vitamin C, and plant proteins, with values varying by species. I keep a mixed jar for daily salads, then go heavy on broccoli after hard workouts.
Troubleshooting like a pro
- White fuzz at root tips that vanishes after rinsing equals root hairs, not mold.
- Persistent fuzz plus sour smell equals mold, discard the batch.
- Slow growth means cool temps or old seed, warm the room to 70 F or 21 C or buy fresh lots.
- Bitterness in broccoli after day 4, harvest earlier at day 3.
I rotate two jars so one fails rarely. If a batch goes off, I clean everything, switch water sources, and log the seed lot.
Sprout types and flavor notes
- Broccoli, bright and peppery, best at short stage for sulforaphane.
- Radish, hot like a clean wasabi note, adds punch to eggs and noodles.
- Fenugreek, maple aroma, savory in flatbreads and dal.
- Mung bean, crisp and juicy, chill after greening for snap.
- Lentil, earthy, takes vinaigrette well.
- Pea, sweet, a bridge between sprouts and shoots.
Storage that keeps crunch
Spin or towel-dry, then chill in perforated containers or a box with a paper towel. Replace the towel daily and keep them in the coldest safe zone of the fridge.
Use within 3 to 5 days for best texture. I pack small boxes so I do not open one large container all week.
Seasonal tweaks and water quirks
In summer, I rinse three times daily and move jars to a cool tile floor. In winter, two rinses at room temp handle it.
Hard water leaves mineral film on gear, so I soak lids in a splash of vinegar, then rinse and dry. If your water smells like a pool, a cheap carbon filter helps flavor.
Microgreens or sprouts for your plan
Sprouts win on speed, cost, and small footprint. Microgreens win on variety, color, and harvest window.
I run sprouts for daily salads and aim microgreens for weekend plates. Both pair with seedlings under the same shop lights.
Best seeds and suppliers to look for
- Vendors that label lots as tested for sprouting pathogens.
- Organic options for broccoli, alfalfa, radish, fenugreek, pea, mung.
- Clear lot codes and harvest years printed on bags.
Common reliable sources include specialty sprout companies and vegetable seed houses with food-safety programs. Ask for microbial testing statements, they should answer fast.
Recipes and uses from my bench
- Broccoli sprouts with lemon, olive oil, flaky salt, five-minute lunch.
- Mung sprouts tossed in a hot pan with garlic for 60 seconds, finish with sesame.
- Radish sprouts on avocado toast with chili flakes and lime.
- Lentil sprouts folded into yogurt with cumin, a pinch of salt, and mint.
I also blitz broccoli sprouts with parsley and capers into a sharp salsa verde. It wakes up grilled zucchini like a drum solo.
Sanitation routine that scales
End of week, I wash jars and lids with hot soapy water, then let them dry completely on a rack. I also run them through the dishwasher on high-heat dry monthly.
Clean strainers, trays, and countertops before loading seeds. Keep sprouts away from raw meat boards like they are herbs.
FAQ on Growing sprouts
Can I sprout in the fridge only. You can, but growth slows to a crawl and texture suffers.
Can kids eat raw sprouts. Many families cook them lightly for safety, check CDC advice for your household.
Can I feed rinse water to plants. Yes, if unsalted and used promptly, I pour it on patio pots.
Do I need light. Only for a short green-up, indirect light is enough.
Buying guide: top picks by use case
- Starter kit under 25 USD or 23 EUR, two wide mouth jars plus stainless lids and a stand.
- High-volume household, three-jar rack or a stacking tray set for 1 pound or 450 g per week.
- Hot climate kitchen, small automatic sprouter with timer and easy-to-clean parts.
- Travel sprouting, hemp bag that hangs over the sink and dries fast.
Pick gear you will actually wash before bed. That habit grows better sprouts than any gadget.
Field notes and crossovers from the garden
Broccoli sprouts taught me timing for brassica transplants, quicker metabolism at warm temps, slower at cool temps. That same timing helps me stagger fall brassicas outside and harvest in waves.
Pea sprouts whisper about soil vigor, sweet when seed is fresh and lifeless when old, just like pea seed in spring beds. I treat seed dates as seriously for jars as for April sowings.
Credible voices I trust
CDC and FDA food safety pages keep getting updated with sprout guidance. University extensions such as UC Davis, Penn State, and Colorado State publish clear home-sprouting hygiene tips.
Johns Hopkins research on glucoraphanin and sulforaphane in broccoli sprouts shaped how I time harvests. I harvest at day 3, then eat or cook depending on who is at the table.
Want smarter plant choices? 🪴
Frequently Asked Questions About Growing Sprouts
How often should I rinse my seeds while they sprout?
Rinse seeds twice daily, once in the morning and once in the evening. This keeps them moist but avoids allowing mold or bacteria to take hold. Use cool, clean water (about 65–75°F, or 18–24°C).
What is the right temperature range for sprouting success?
Optimal sprouting occurs between 65°F and 75°F (18–24°C). Consistent temperatures outside this range can slow germination or increase the risk of spoilage.
Do I need special equipment to sprout seeds?
You can use a simple glass jar with a mesh or cheesecloth lid, or a dedicated sprouting tray. The key is providing ample drainage and airflow so seeds do not sit in stagnant water.
Can all seeds be used for sprouting?
Only use seeds specifically labeled for sprouting. Some seeds meant for regular gardening are treated with chemicals or are not raw, making them unfit for consumption when sprouted.
What are common causes of mold during the process?
Poor rinsing, inadequate drainage, and high humidity produce conditions where mold thrives. Rinse thoroughly and allow excess water to escape after each rinse.
How do I know when my sprouts are ready to eat?
Harvest day varies by type. Most sprouts are ready in 3 to 7 days, when the shoots are 1 to 2 inches long (2.5–5 cm) and the seed leaves have opened.
What is the safest way to store harvested sprouts?
Pat sprouts dry with a clean towel, then store in an airtight container in the refrigerator at 35–40°F (1.5–4°C). Consume within a week for best texture and flavor.
Growing sprouts is pure, hands-on satisfaction. A handful of seeds, a rinse, a little patience—suddenly you’ve got fresh, living food right on your counter. Sprouts need no garden, just a jar and some water. They’re quick, packed with flavor, and add real punch to any meal. Curious about microgreens or thinking about growing food indoors? Sprouts are the gateway. Keep it clean, stay curious, and tweak your technique as you go. For more on starting seeds and understanding cotyledons, there’s a whole world waiting. Growing sprouts is a reminder: good food can be simple, fresh, and right at your fingertips.
The Money Saver's Guide to Growing Sprouts
Sprouting cuts grocery expenses on greens by up to 80% annually, producing a week’s worth of nutrition from less than one tablespoon of seed. A single $5 bag of organic mung beans yields over 15 pounds (7 kg) of protein-rich, living food. Growing food indoors year-round eliminates costly, perishable salad greens from shopping lists.
Low-Cost Setup
- Seeds: Buy in bulk—alfalfa, mung, lentil, fenugreek— from online suppliers or local farm stores. Split large orders with friends to save further.
- Containers: Repurpose wide-mouth jars (glass or BPA-free plastic) and mesh (window screen or clean cheesecloth) for drainage. Rubber bands replace specialty jar lids.
- Water: Use tap water if potable; filtered if taste or purity concerns, as frequent rinsing limits build-up.
Maximizing Value & Nutrition
- Rotation: Start a new jar daily. Enjoy continuous, staggered harvests—no waste from spoilage.
- Storage: Refrigerate fresh, dry sprouts in lidded containers. Add a paper towel to wick moisture, doubling shelf life.
- Seed-to-yield: 1 Tbsp (15 ml) seed produces 1.5–2 cups (350–475 ml) finished sprouts—stretching more value from every ounce/gram.
Cost Comparison
- Homegrown sprouts: $0.10–$0.45 per serving.
- Store-bought: $2.50–$5 per serving, with shorter shelf life.
- Annual savings per household: $350–$800, depending on consumption.
Money-Saving Seed Sources
- Asian supermarkets: bulk mung/adzuki beans, lentils, fenugreek.
- Co-ops or bulk bins: alfalfa, radish, broccoli.
- Organic livestock feed stores: untreated wheat, barley, oats—test germination.
Shelf-Stable Homestead Protein
- Store dried sprouting seeds in airtight containers—cool, dark pantry for up to 5 years.
- Sprouts provide complete protein and micronutrients in crop failure, supply chain disruptions, or off-season shortages.
Sprouting slashes costs, eliminates waste, and supplies nutrient density unavailable in most store-bought greens—on any budget, in any season, with almost no equipment.
Find out which plants will thrive in your garden!
Answer a few fun questions and get custom plant recommendations perfect for your space. Let’s grow something amazing together!

start your season
