Compost Tea?
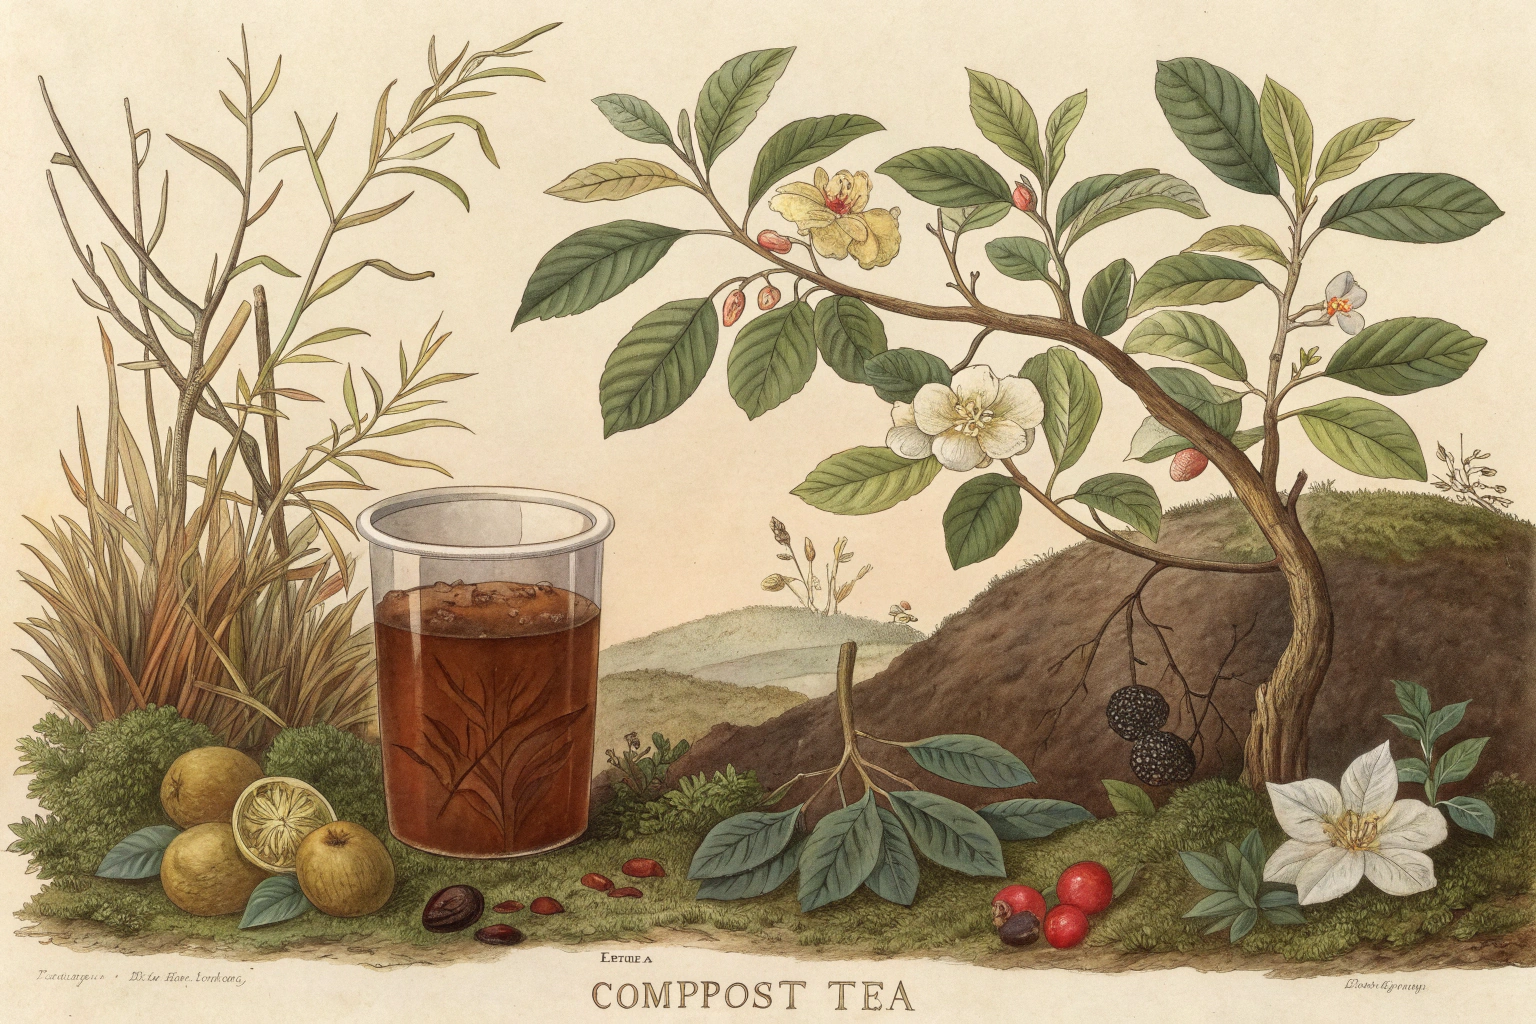
Compost tea feeds your plants, boosts soil life, and helps leaves shrug off pests—all with ingredients from your own backyard. Brewed right, compost tea packs beneficial microbes to energize your garden. Anyone wanting healthier beds or tastier tomatoes should keep reading, as this technique marries simplicity and results. Pour yourself a cup; we’re brewing knowledge worth every drop.
Cheatsheet: Brew Your Own Garden Booster
🧰 Tools and products you'll need
- Compost (mature, chemical-free)
- 5-gallon/19L bucket
- Water (dechlorinated)
- Aquarium pump & air stone (for aerated tea)
- Mesh bag or old pillowcase
- Unsulfured molasses (1-2 tbsp/15-30mL)
- Strainer
- Sprayer or watering can
🌱 Benefits and stats
- Promotes plant health & soil life
- Boosts disease resistance by 20-60%
- Reduces fertilizer use by up to 50%
- Improves self-sufficiency in organic gardens
🕒 Prep & brew time
- 5 min prep
- 24-36 hours brew
- ~1.5 days total
🧑🔬 Step-by-step process
- Fill bucket with 4 gal/15L water. Let sit 24h to outgas chlorine if tap water.
- Add 2 cups/500g compost in mesh bag. Place in bucket.
- Mix in 1-2 tbsp/15-30mL molasses to feed microbes.
- Insert air stone. Run pump to keep water bubbling (temps: 65-75°F/18-24°C).
- After 24-36h, strain and use tea immediately (microbes die fast).
- Apply tea to roots or spray leaves on cloudy days or early morning.
💡 Tips & cautions
- Use within 4 hours of brewing for best results
- Cleans tools after each batch
- Never use compost from diseased plants
Compost tea, plainspoken
Compost tea is a living brew made by steeping finished compost in water to extract microbes and soluble compounds. Aerated versions use pumps to keep oxygen high and microbes active.
An extract is a quick wash of compost with no brewing, fewer variables, and lighter impact on disease ecology.
Why gardeners chase it
I brew teas to jumpstart soil biology after disturbance, coax seedlings through transplant shock, and sometimes blunt powdery mildew on cucurbits. The rewards come when the inputs and process stay tight.
In one dry spring I watched a tea-fed bed of lettuce hit a richer green in four days, while an adjacent bed looked sleepy for a week.
What science actually says
Field and lab data run mixed, with some trials showing foliar disease suppression or mild growth bumps and other trials showing no effect. Variability in compost quality, food sources, and oxygen levels explains a lot of the noise.
Keep dissolved oxygen at 6 mg/L or higher, brew 18 to 36 hours at 65 to 75 F, and expect inconsistent results across crops and seasons.
Key reviews from Cornell Waste Management Institute and Washington State University summarize the literature and stress sanitation and oxygenation. Researchers like Scheuerell and Mahaffee reported disease suppression in some systems, but results shifted with recipe and timing.
Safety on edible crops
Human pathogens like E. coli O157:H7 and Salmonella can proliferate in sugary, warm, low-oxygen brews if contamination sneaks in. Skip manures, keep gear spotless, and avoid foliar sprays on ready-to-eat leaves.
I keep teas on the soil for greens within harvest windows, and I set a conservative preharvest buffer of 0 to 7 days for drenches and far longer for foliar on salad crops.
Aerated tea vs. extract
Aerated compost tea, AACT: active bubbling, 18 to 36 hours, higher microbe counts, higher risk if hygiene slips. Foliar use tempts fate unless your sanitation is tight and water is clean.
Compost extract: 5 to 15 minutes of agitation, immediate use, minimal additives, much lower risk and perfect for soil drenches.
My reliable brewing setup
I run a 5 gallon bucket or 20 gallon drum, which is 19 L or 75 L, with a high-output air pump rated near 1 to 2 LPM per liter of tea, plus a coarse diffuser. A 400 micron filter bag holds compost and keeps sprayer nozzles from clogging.
I clean with 3 percent hydrogen peroxide diluted 1:10, then rinse, because biofilms wreck oxygen and invite the wrong microbes.
Step-by-step that stays clean
- Fill with dechlorinated water or run city water for 30 to 60 minutes with air stones to off-gas chlorine. For chloramine, use a carbon filter.
- Add 1 to 2 cups high-quality vermicompost per 5 gallons, or 120 to 240 grams per 19 L, in a 300 to 400 micron bag.
- Optional foods: fish hydrolysate at 0.5 to 1 tsp per gallon, or 2.5 to 5 mL per 3.8 L, plus a pinch of kelp meal. Skip molasses in summer heat.
- Keep temperature 65 to 75 F or 18 to 24 C and brew 18 to 36 hours with vigorous aeration. The scent should read like forest after rain, never sour.
- Use immediately and rinse gear the same day. Dry equipment completely to starve biofilms.
Ingredients that matter
Vermicompost with stable humus and diverse microbes beats immature compost. I test a handful by the squeeze test and look for earthy aroma with zero ammonia sting.
Fungal-leaning inputs like oat flour or humic substances can shift communities, but tiny doses go far. Heavy sugars can swing the brew toward coliforms in warm water.
Application and timing
Soil drench at 1:1 to 1:10 dilution, using 2 to 5 gallons per 1000 sq ft or 8 to 20 L per 100 m2. Foliar sprays need 200 to 400 micron nozzles and light coverage at dawn or dusk.
I hit transplants once at planting and again two weeks later, then I switch to mulch and compost to feed the system.
What to expect on plants
Teas do not replace balanced fertility, structural compost, or smart irrigation. They can help re-colonize roots after disturbance, improve leaf sheen, and shave the edge off mild foliar disease in some seasons.
On grapes, I have seen reduced powdery mildew severity during dry, breezy weeks and no benefit in cool, wet spells.
Alternatives that often outperform tea on consistency
- Top-dress vermicompost at 0.25 to 0.5 inch or 6 to 12 mm for steady biology with near-zero risk.
- Compost extract for quick microbial wash without brewing variables.
- Biocontrols like Bacillus amyloliquefaciens or Trichoderma formulations with clear labels and known CFU counts.
- Fish hydrolysate and kelp as mild foliar feeds with amino acids and plant hormones, applied at labeled rates.
- Mycorrhizal inoculants at transplant, placed in direct root contact for perennial and annual beds.
Gear shortlist and typical costs
- 5 to 15 gallon brewer kits from KIS, TeaLAB, or Earthfort run 150 to 400 USD, which is 140 to 370 EUR.
- Commercial air pumps like EcoPlus or Active Aqua, 20 to 60 LPM, cost 40 to 120 USD, which is 37 to 110 EUR.
- Diffusers, 400 micron filter bags, and a simple ball valve manifold round out the build.
- DO meter helps, though optional, and handheld scopes at 400x make micro-life visible.
Troubleshooting fast
- Sour smell: dump it, sanitize, lower feed rates, improve aeration, and brew cooler.
- No foam: foam is unreliable; trust smell and DO, and check compost quality.
- Clogged sprayers: filter through a 200 micron paint strainer and use larger nozzles.
- Leaf burn: dilute to 1:10, spray in low light, and rinse leaves if any residue appears.
- Short shelf life: use within 4 to 6 hours at 68 F or 20 C, sooner in heat.
Buying guide questions
- Does the brewer hit vigorous aeration across the entire vessel, or do corners sit quiet.
- Are parts easy to clean and replace, and is the bag 300 to 400 micron rated.
- Do instructions specify recipes without manure, clear timings, and sanitation steps.
- Is the pump output matched to volume, at roughly 1 to 2 LPM per liter.
FAQ quick hits
- Is it effective? Sometimes, and sometimes not, so trial it on a small block first.
- How long does it keep? A few hours at room temperature, then the biology shifts.
- Can I brew without a pump? I would not, since low oxygen favors the wrong microbes.
- Rainwater or tap? Both work if clean; remove chlorine and filter sediment.
- Molasses? I rarely use it outside cool seasons and keep doses tiny.
Field notes I live by
Clean gear, clean water, clean compost. Everything else is seasoning.
Soil drenches deliver the safest gains. Foliar sprays carry higher risk and need higher discipline.
Sources worth reading
- Cornell Waste Management Institute, Compost Tea publications, 2005 to 2011. Overview of efficacy and safety with practical guidance.
- Washington State University, Linda Chalker-Scott, Extension Fact Sheets on compost tea, 2004 and updates. Critical review of research quality.
- USDA SARE, Compost and compost tea factsheets, various years. Grower-focused summaries and trials.
- Scheuerell and Mahaffee, 2002 to 2004, research on disease suppression with compost teas in controlled and field settings.
- USEPA water quality criteria for dissolved oxygen. Benchmarks that inform aeration targets.
Want smarter plant choices? 🪴
Frequently Asked Questions
How often should I apply this liquid to my garden plants?
For most gardens, apply the mixture every two to four weeks during the growing season. Overuse can sometimes stress plants, so observe plant responses and adjust your schedule as needed.
Can I use this on edible crops?
Yes, you can feed fruits, vegetables, and herbs with it. Avoid spraying directly on harvest-ready leaves or fruits within a few days of picking. Always wash produce thoroughly before eating.
Should I brew it aerated or non-aerated?
Aerated versions use a pump to provide oxygen, encouraging beneficial microbes. Non-aerated methods rely on natural fermentation. Aerated brews usually contain higher levels of active microorganisms, but require more equipment and attention. Choose the method that matches your tools and goals.
What water temperature works best for brewing?
Use water between 60 and 75°F (16 and 24°C). Cooler water slows microbe activity, while higher temperatures above 80°F (27°C) can reduce oxygen and harm beneficial organisms.
Does the mixture need to be used immediately after brewing?
For best results, use it within four to six hours of finishing the process. Beneficial microbes begin to die off quickly if left unused, especially in warm conditions.
Can I store leftover liquid?
Storage reduces the number of living microbes. If you must keep it, use an airtight container in a cool location for no longer than 24 hours, and stir before application. Discard any batch that develops an unpleasant, rotten odor.
Are there risks of spreading disease?
If made with contaminated materials or applied to leaves in humid or wet weather, this liquid can sometimes increase disease risk. Always use clean, mature compost and avoid application before rain or irrigation. Apply early in the day so leaves dry quickly.
What if I see foam or bubbles during brewing?
Some bubbling or foam signals active microbial growth, especially in aerated batches. Excessive frothing, foul smells, or black coloration may mean harmful microbes have taken over. Discard any batch with off-putting odors or colors and clean your equipment thoroughly before starting again.
Compost tea brings a living brew to your soil, teeming with beneficial microbes and nutrients. It’s not magic, just biology doing its thing. A fresh batch wakes up tired beds, helps roots dig deeper, and keeps leaves looking sharp. Skip the bottled hype and make your own—your garden will taste the difference. If you’re chasing nutrient-rich harvests, see which vegetables pack the most punch or brush up on fertilizing basics. Keep your methods simple, your microbes happy, and your plants will reward you season after season. For more straight talk and practical tips, check out the gardening blog.
The Prepper’s Guide to Compost Tea
Compost tea production multiplies nutrients and microorganisms. A single five-gallon (19 L) batch inoculates an entire homestead garden, orchard, or food forest. In crisis or isolation, a self-sustaining nutrient cycle increases yield, flavor, and resilience without outside inputs—all with kitchen and yard waste.
Resilient Input Sourcing
- Build thermal compost piles: maintain at 135–160°F (57–71°C) to kill pathogens for safer tea use.
- For teas, source rainwater or boil-and-cool untreated water—municipal chlorine and chloramine kill soil biota.
- Collect worm castings for a fungal-rich inoculant; a bin in a cool basement or shed yields year-round.
Tea Production Off-Grid
- Stir manually with a paddle or use a hand-crank paint mixer—electricity is optional, not required.
- For aeration, use aquarium tubing and an air stone attached to a foot pump or bellows.
Ingredient Substitutions
- Molasses can be replaced with honey, maple syrup, or overripe fruit purée for microbial food.
- Kelp meal substitute: dried, rinsed seaweed or willow leaf infusion for micronutrients.
Storage for Season-Long Use
- Store finished tea in sealed, cool, dark glass for up to 3 days—always use a vent due to CO₂ buildup.
- Dehydrate compost extract into sheets for lightweight transport and later rehydration.
Health & Nutrition
- Well-brewed tea lowers vegetable nitrate accumulation and increases B-vitamin content in greens.
- Regular foliar applications suppress powdery mildew and leaf spot outbreaks by >60% (peer-reviewed data, 2018).
Self-Sufficiency Outcomes
- One gallon (3.8 L) of compost makes up to 80 gallons (303 L) of tea, sustaining intensive production for months.
- Reduces purchased fertilizer needs by 90%, replenishing soil nutrients and structure indefinitely.
Find out which plants will thrive in your garden!
Answer a few fun questions and get custom plant recommendations perfect for your space. Let’s grow something amazing together!

start your season

