How to Grow Fungi
Fungi
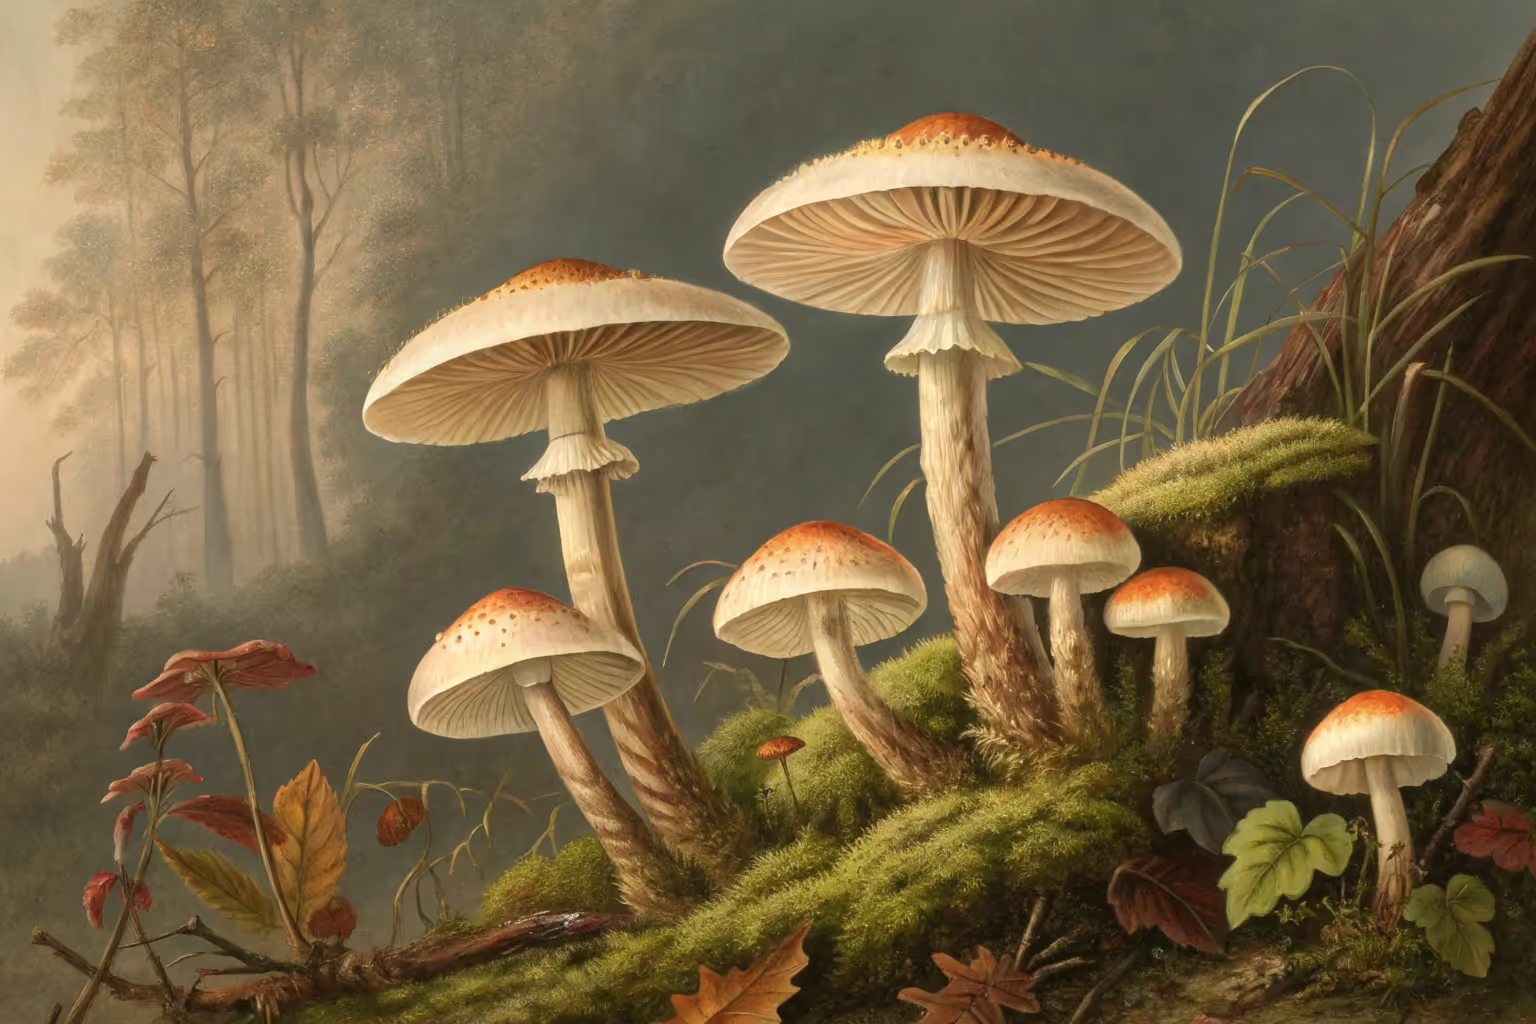
Fungi: sterilize substrate, use clean spawn, and keep 21–24°C with 90% humidity. Fungi fruit with steady fresh-air exchange, 12 hours of indirect light, and surfaces wiped with 70% alcohol. Fungi eat straw, sawdust, or coffee grounds—match species to its food and water to field capacity. I’ll show you the exact setup, the few tools that matter, and the moves that keep contaminants out, so you pull firm caps that smell like rain.
Cheatsheet: Home Mushroom Cultivation Made Simple
🍄 Varieties to Try
- Oyster: Fast, forgiving, rich in B vitamins
- Shiitake: Immune-boosting, gourmet flavor
- Lion’s Mane: Brain-healthy, meaty texture
- Button/Cremini: Classic, easy to use
🧰 Tools and Products You'll Need
- Sterile spawn (grain or plug)
- Substrate (straw, hardwood, coffee grounds)
- Clean container (bucket, log, bag, tray)
- Spray bottle for misting
- Optional: Hydrometer or thermometer
- Gloves, alcohol spray (cleaning)
🧑🍳 Step-by-Step
- Prep substrate: Chop and pasteurize; straw (160°F/71°C, 1hr), hardwood (soak overnight). Cool fully.
- Mix spawn in: Wear gloves, work cleanly. Combine spawn and cooled substrate at 5-10% spawn rate.
- Pack tightly: Fill container or bag; compress gently. Seal or cover with holes for air.
- Incubate: Store at 70-75°F (21-24°C), in the dark. Wait until fully white (7-21 days).
- Fruit: Move to indirect light, 60-68°F (15-20°C), 80-95% humidity. Mist 2-3x daily.
- Harvest: Cut clusters just before caps flatten. Expect 2-3 flushes per batch.
🧂 Nutrition & Self-Sufficiency
- Mushrooms are 20-30% protein (dry weight)
- High in vitamin D, B12, antioxidants
- Grow indoors, year-round, on waste materials
⚡ Tips for Success
- Maintain high humidity: mushrooms double in 24hrs
- Keep air fresh: avoid CO₂ buildup
- Never let substrate dry out
- Sanitize tools before use
Fungi you can grow: the underground crop that pays twice
I grow Fungi for food and for soil, because a good flush feeds me now and the leftovers feed my beds for months. The trick is to farm the network, not the mushroom.
"Grow mushrooms for dinner, grow mycelium for your garden."
Paul Stamets once said mycelium is Earth's natural internet, and my beds act like routers for nutrients after a harvest. I have pulled a 3 pound 1.36 kg oyster cluster from a tote and then used the spent block to jump-start a strawberry patch.
Field glossary I actually use
Mycelium: the white threadlike body that does the real work. It colonizes the food source and decides when to fruit.
Spawn: living mycelium on grain, sawdust, or wooden dowels used as seed. I treat spawn like yogurt starter for a pot of milk.
Substrate: the food for the fungus, like straw, hardwood sawdust, wood chips, or logs. Wrong substrate, weak crop.
Biological efficiency BE: fresh mushroom weight produced per dry substrate weight, where 100 percent BE equals 1 lb mushrooms from 1 lb dry substrate. Oysters can hit 100 to 200 percent BE with dialed-in conditions.
What the science says, and why gardeners should care
Over 90 percent of plant species partner with mycorrhizal fungi for water and nutrients, per Smith and Read's Mycorrhizal Symbiosis. That partnership builds soil structure that holds water like a sponge.
"Scientists estimate 2.2 to 3.8 million fungal species exist, with only a fraction described." Kew, State of the World's Fungi 2018
I lean on those numbers to pick species that fit my climate and my beds. The right fungus makes a path of wood chips behave like a living drip line.
Best beginner species that actually earn their keep
- Oyster Pleurotus spp.: fastest on pasteurized straw or coffee plus straw, forgiving, fruits at 55 to 75 F 13 to 24 C.
- Lion's mane Hericium erinaceus: sawdust lover, clean crab texture, fruits at 60 to 70 F 16 to 21 C, needs high humidity.
- Shiitake Lentinula edodes: thrives on hardwood sawdust blocks or logs, deep umami, 55 to 68 F 13 to 20 C for fruiting.
- Wine cap Stropharia rugosoannulata: wood chip bed champion outdoors, big burgundy caps, tolerates 45 to 80 F 7 to 27 C.
- Pioppino Agrocybe aegerita: loves nutrified sawdust, aromatic, fruits at 60 to 68 F 16 to 20 C.
Choosing substrates that match the species
Straw for oysters and king oysters gives speed, low cost, and handsome yields. Hardwood sawdust blended with bran gives shiitake, lion's mane, and pioppino their best structure and nutrition.
Wood chips 1 to 3 inch 2.5 to 7.5 cm depth feed wine caps while mulching paths and beds. Fresh hardwood chips from arborist loads perform better than aged softwood chips.
Prep that substrate right
Pasteurization for straw: hydrate to field capacity, then heat soak at 160 F 71 C for 60 to 90 minutes and cool in clean bags. Field capacity means a hard squeeze releases a few drops, not a stream.
Sterilization for supplemented sawdust: pressure cook at 15 psi 121 C for 90 to 120 minutes depending on bag size. Let cool to room temp 68 to 72 F 20 to 22 C before spawning.
Spawn formats and when I use each
- Grain spawn: fast colonizer for indoor bags or buckets, easy to shake and distribute.
- Sawdust spawn: great for logs and outdoor beds, bonds well with wood-based substrates.
- Plug spawn: tidy for logs, long shelf life, a little slower to run.
I store spawn cold at 34 to 40 F 1 to 4 C and use it within 2 to 3 months for best vigor. Older spawn still works but loses snap.
How I set up an indoor grow that does not take over the house
A latching tote with side holes, a cheap shelving greenhouse, and an ultrasonic humidifier on a cycle timer will fruit oysters and lion's mane reliably. I keep fruiting humidity at 85 to 95 percent RH with plenty of fresh air exchange.
Light matters for form, not food, so I give 500 to 1000 lux with a shop LED on a 12 hour schedule. Stems elongate if CO2 builds up, so I loosen the tote lid or add more side holes.
Outdoor beds that feed the garden
I lay 2 to 3 inches 5 to 7.5 cm of hardwood chips, sprinkle sawdust spawn like salt, then cap with another chip layer. Spring or early fall works best in my climate with soil at 50 to 60 F 10 to 16 C.
Wine caps run a path in 4 to 8 weeks, fruit in 2 to 3 months, and keep producing for 2 seasons if I top up chips. After the flushes slow, I shovel the mycelial chips around brassicas and strawberries for disease suppression and moisture retention.
Logs for patient growers
I inoculate fresh-cut oak or beech logs 3 to 8 inches 7.5 to 20 cm wide for shiitake within 4 weeks of felling. Drill, hammer in plug spawn, seal with cheese wax, then stack in shade and keep evenly moist.
Logs run for 6 to 12 months and fruit after a good rain or a soak at 60 to 70 F 16 to 21 C. The flavor beats any store box.
Clean technique without a lab
I wipe surfaces with 70 percent isopropyl, flame-sterilize tools, and work in a still air box made from a clear tote. I cool my grain-to-substrate transfers to room temp and use gloved hands for stuffing bags to avoid skin flora in the mix.
Contaminants show up as green Trichoderma, black pinheads, or sour smells. I cut out small spots outside the fruiting area, but I always toss a bag that turns swampy.
Key environment targets I actually track
- Incubation temperature: 70 to 77 F 21 to 25 C for oysters and lion's mane, 68 to 72 F 20 to 22 C for shiitake bags.
- Fruiting temperature: 55 to 70 F 13 to 21 C depending on species, check the variety notes.
- Humidity: 85 to 95 percent RH at pinning, 80 to 90 percent during growth to prevent bacterial blotch.
- Fresh air exchange: 4 to 8 exchanges per hour for oysters, less for lion's mane to avoid tearing spines.
Yields and timelines you can bank on
From pasteurized straw with 10 percent grain spawn by wet weight, I see full colonization in 7 to 10 days at 72 F 22 C. First flush lands one week later with 50 to 80 percent of total yield, then a second lighter flush a week after that.
With good genetics and fresh spawn, BE hits 100 to 150 percent on straw and 80 to 120 percent on unsupplemented hardwood sawdust. Supplemented sawdust with 10 to 20 percent bran can push higher but needs real sterilization.
Mycorrhizal fungi for beds, shrubs, and trees
Vegetables like onions, garlic, brassicas rarely host arbuscular mycorrhizae, but tomatoes, peppers, and squash love them. I inoculate potting mixes or fresh raised beds that were filled with sterile media and kept weed-free.
For established soil, I focus on mulch and living roots instead of inoculants, which matches guidance from multiple university extensions and USDA NRCS. Ectomycorrhizal inoculants help at planting for pines, oaks, and birches, and I use spore slurries from reliable suppliers.
How I turn spent blocks into soil builders
Spent oyster or lion's mane blocks become mulch under fruit bushes or feed for a worm bin. That material still teems with enzymes that unlock phosphorus and trace minerals for crops.
In rain events I set chunks in a shallow swale to act as a biofilter for driveway runoff. It smells like a forest after two storms.
Safety and food quality
I only eat mushrooms from known cultivated strains and clearly labeled spawn. I cook them to 165 F 74 C to bring out flavor and denature any off compounds.
Never clone and eat a wild mushroom without expert ID from a qualified local authority. Cultivation gear is clean, but it is not a substitute for identification training.
Gear checklist and real-world costs
- Pressure cooker 23 quart 21.8 L for sterilizing sawdust blocks: 120 to 180 USD 110 to 165 EUR.
- Ultrasonic humidifier plus cycle timer: 40 to 80 USD 37 to 74 EUR.
- Clear totes, micropore tape, alcohol, gloves, mist bottle, digital hygrometer: 30 to 60 USD 28 to 55 EUR.
- Spawn per 5 lb 2.3 kg bag: 20 to 35 USD 18 to 32 EUR depending on species and supplier.
Reputable spawn vendors include Fungi Perfecti, Field and Forest Products, North Spore, and Mushroom Mountain in North America, plus regional producers in Europe and Asia. I pick strains matched to my fruiting temperature and stick with one supplier per project for consistency.
Kits vs DIY: what actually saves time
Grow kits are fast and tidy, good for first harvests or gifts, and they teach pinning conditions with zero sterilization. DIY blocks cost far less per pound and give me control over substrate and supplementation, which matters for flavor and texture.
Actionable schedule for a full season
Winter: indoor oysters and lion's mane to keep skills sharp and kitchens stocked. Spring: build wine cap chip beds under berries and along paths, inoculate shiitake logs after pruning.
Summer: top-dress chip beds, keep logs shaded and watered, run a second indoor cycle if temps permit. Fall: harvest heavy from outdoor beds, move spent blocks into garlic beds for moisture management.
Novel tricks that have paid off
- Cardboard cloning of a market oyster: place a clean inner stem wedge between boiled and cooled corrugated layers, then move to sterilized grain after it runs.
- Wine cap borders along slug-prone beds create drier capillary breaks under mulch and lower slug travel, which helps lettuce and basil.
- A tablespoon of gypsum per 5 lb 2.3 kg substrate improves crumble and calcium for better caps in oysters and pioppino.
- Side-fruiting bags in milk crates keep caps off soggy surfaces and simplify harvest and airflow.
Troubleshooting quick hits
- Long skinny oyster stems with tiny caps: increase fresh air, drop CO2, add side holes, or crack the tote lid.
- Yellowing lion's mane with bitter taste: lower humidity slightly and increase fresh air to avoid bacterial blotch.
- Green mold during colonization: your substrate is too wet or under-sterilized, reduce moisture and extend sterilization time.
- No pins: light too low or temp too high, aim for 60 to 68 F 16 to 20 C and 12 hours of diffuse light.
Numbers that anchor expectations
Oyster straw bags at 5 to 10 percent spawn by wet weight often hit first-flush yields of 0.6 to 1.0 lb 270 to 450 g per 5 lb 2.3 kg bag in home setups. Wine cap beds can produce 2 to 5 lb 0.9 to 2.3 kg per square yard 0.8 m² in a good rainy month once established.
USDA and extension sources point out that fungi-rich soils resist erosion through better aggregate stability. I see that in raised beds that hold shape after thunderstorms.
Food pairing and kitchen notes from harvests
Oyster caps tear into strands that sear like pulled pork at 400 F 204 C with smoked paprika and garlic. Lion's mane slices hold brown butter like a sponge and carry tarragon beautifully.
Shiitake stems save for stock at a 1 to 10 ratio by weight to water, simmered 45 minutes. Wine caps love high heat and thyme, and they make a garden paella sing.
Trusted references for deeper reading
Smith and Read, Mycorrhizal Symbiosis, 3rd edition covers plant-fungi partnerships with clear diagrams. The Royal Botanic Gardens, Kew, State of the World's Fungi reports give global context and hard numbers.
University extensions from Wisconsin, Cornell, and Penn State publish free cultivation guides on pasteurization, contamination, and log culture. USDA NRCS soil health materials explain how fungal hyphae build aggregates and water-holding capacity.
Frequently Asked Questions About Cultivating Your Own Fungi
What type of substrate should I use for growing fungi at home?
Many fungi varieties flourish on substrates like sawdust, straw, coffee grounds, or hardwood logs. Oyster mushrooms thrive particularly well on pasteurized straw, while Shiitakes prefer hardwood logs or enriched sawdust blocks. Choose your substrate based on the fungi species you plan to cultivate.
What environmental conditions promote optimal fungi development?
Fungi grow best in environments maintaining high humidity (80–95%), adequate ventilation, indirect daylight, and stable temperatures between 55–75°F (13–24°C). Slight variations exist depending on species; always verify specific environmental preferences for your chosen fungi.
Can I cultivate fungi indoors?
Absolutely. Indoor cultivation allows precise control over humidity, temperature, and air circulation, aiding consistent fungi growth and harvest. Utilize spaces like basements, spare rooms, or dedicated grow tents to maintain optimal conditions.
How long does it take to harvest fungi after starting cultivation?
The timeframe for harvesting fungi depends on species and cultivation method, typically ranging from 3–6 weeks after inoculation. Oyster mushrooms mature quickly, often within 2–3 weeks, while Shiitakes typically require 6–8 weeks to reach first harvest.
What signs indicate successful fungi colonization of the substrate?
Successful colonization appears as a visible spread of white, thread-like growth called mycelium, thoroughly covering and binding the substrate material. Complete colonization is essential before initiating fruiting conditions.
What sterilization precautions should I take during fungi cultivation?
Proper sterilization or pasteurization of substrates and tools minimizes contamination risks. Sterilize substrates by heating them at 250°F (121°C) for at least 90 minutes in a pressure cooker, or pasteurize straw substrates by soaking them in hot water at approximately 160–170°F (71–77°C) for 1 hour. Maintain clean workspaces and sterilize utensils to ensure healthy fungi growth.
How do I store harvested fungi properly?
Store your freshly harvested fungi in paper bags or wrapped in dry towels within a refrigerator. Refrigeration at temperatures around 34–39°F (1–4°C) extends freshness, and stored this way, most varieties remain fresh for approximately one week.
Can I reuse a substrate after harvesting fungi?
While substrates diminish in nutrients after initial harvests, you may sometimes reuse them by adding supplementary nutrients or composting and mixing with fresh material. However, yields decrease noticeably after multiple reuse cycles, making fresh substrate preferable.
Fungi reward the calm hand. Start with clean gear and strong spawn. Match species to the right substrate. Keep temperature steady, humidity high, and fresh air gentle. Pasteurize or sterilize your medium, label every bag or tub, and skip shortcuts. Let the mycelium run, then give light and a fine mist. Harvest caps at peak, veils still intact.
I grow for flavor and texture. Oysters for quick pans, shiitake for stock, lion's mane for a meaty sear. Compost the spent blocks, feed the beds, begin again. Fungi turn scraps into dinner and discipline into yield. Respect cleanliness, patience, and small daily checks. Do that, the room goes white and you eat well.
