Growing Kale: Easy Steps to a Healthy Garden Harvest
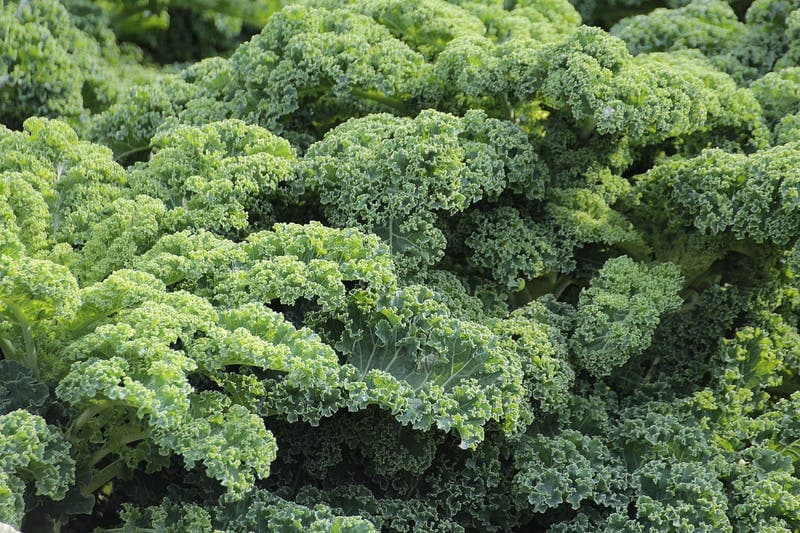
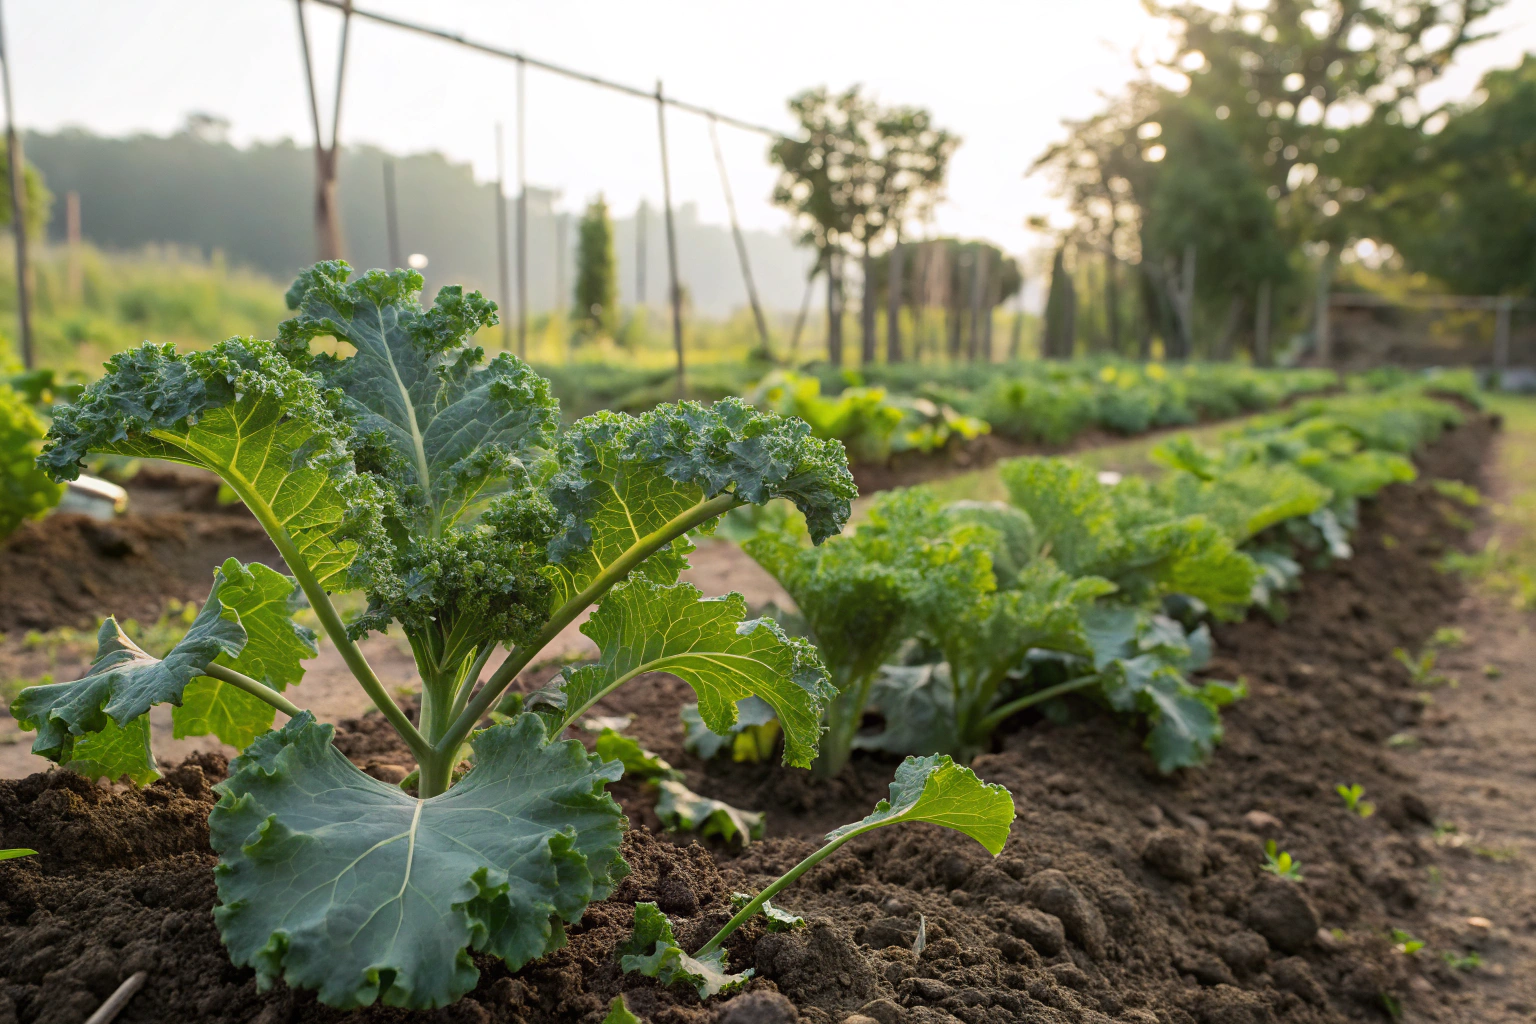
Growing Kale
Growing kale rewards gardeners who savor hearty salads, quick sautés and nutrient-rich smoothies. Kale seeds thrive in cool weather, so plant them in early spring or late summer, spacing rows roughly 18 inches apart for optimal leaf growth. Keep seedlings moist and mulch generously to extend your harvest and enjoy fresh greens deep into colder months.
Read on to discover easy tips that ensure flavorful, homegrown kale at your fingertips.
Table of Contents
- Pick the spot, prep the ground, time the sowing
- Seed or transplant
- Soil food and water that actually works
- My top kale varieties by goal
- Succession planting that keeps the bowl full
- Pest pressure, clean control
- Harvest like you mean it
- Container growing
- Companions that earn their keep
- Yield, cost, and planning for the table
Cheatsheet: Fast Guide to Perfect Kale Harvests
🌱 Variety & Timing
- Lacinato, Curly, and Red Russian thrive in most climates.
- Sow in early spring or late summer (frost sweetens leaves).
- Germinates at 45-85°F (7-30°C); best growth at 60-75°F (16-24°C).
🌞 Sun & Soil
- Full sun (6+ hours), partial shade in hot summers.
- Enrich soil with compost; target pH 6.0-7.0.
- Loosen soil 12” (30cm) deep for root health.
💧 Water & Feeding
- Water 1.5 inches/week (4cm); keep soil moist, not soggy.
- Side-dress with nitrogen-rich fertilizer every 3-4 weeks.
🐛 Pest & Disease Defense
- Protect with row covers or mesh.
- Handpick cabbage worms; use organic neem if needed.
- Rotate crops yearly to limit soil-borne problems.
✂️ Harvest & Storage
- Begin picking outer leaves at 8” (20cm); leave center growing.
- Kale tolerates light frost; flavor improves after chill.
- Refrigerate unwashed leaves up to 2 weeks.
🥗 Health & Yield
- Rich in vitamins A, C, K; minerals & antioxidants.
- One 10-foot (3m) row yields up to 12 lbs (5.5kg) per season.
- Harvest continually for 4-5 months.
🛠️ Tools and Products You'll Need
- Kale seeds or seedlings
- Compost or organic fertilizer
- Mulch (straw or leaves)
- Trowel or small spade
- Row cover or fine mesh
- Sharp scissors or garden snips
- Watering can or hose
- Prep soil: Amend with compost, check pH, loosen deeply.
- Sow seeds: 1/4” (6mm) deep, 12-18” (30-45cm) apart; thin to strongest plants.
- Water & mulch: Maintain steady moisture, suppress weeds with mulch.
- Feed & protect: Fertilize, monitor for pests, use covers as needed.
- Harvest: Snip mature leaves, leaving centers for regrowth.
I grow kale for flavor first, and it pays rent in vitamins, resilience, and steady yields. Growing Kale takes simple moves done on time, with a little swagger and a sharp knife.
Pick the spot, prep the ground, time the sowing
Full sun gives thick leaves and tight crinkles, while light afternoon shade helps in hot summers. Aim for loamy soil with 4 to 6 percent organic matter, pH 6.2 to 7.0, and fast drainage.
Sow as soon as soil hits 45 to 50 F, 7 to 10 C, or transplant once nights sit above 40 F, 4 C. Fall crops taste best because chill sweetens the leaves.
“Kale leaves become sweeter after light frost as plants convert starches to sugars.” Source: University of Minnesota Extension
Seed or transplant
I start seed indoors 4 to 5 weeks before last frost for spring, and 6 to 8 weeks before first frost for fall. Sow 0.25 to 0.5 inch deep, 6 to 12 mm, and keep at 70 F, 21 C, for quick germination.
Set plants 12 to 18 inches apart, 30 to 45 cm, with rows 18 to 24 inches, 45 to 60 cm. For baby leaf, broadcast densely and cut at 20 to 30 days.
Soil food and water that actually works
Side‑dress with nitrogen because brassicas eat like linebackers. Feed 1 to 1.5 pounds nitrogen per 100 square feet per season, 0.5 to 0.7 kg per 9 square meters, split into three hits at transplant, first pick, and midseason.
Use a fish 5‑1‑1 or a balanced organic blend preplant, then topdress with compost. Water 1 to 1.5 inches a week, 2.5 to 3.8 cm, and mulch 2 inches, 5 cm, to keep roots cool.
My top kale varieties by goal
- Flavor and tenderness: Lacinato, aka Tuscan or Dinosaur. Sweet, blistered leaves, holds up in the pan.
- Cold and yield: Winterbor and Siberian. Frilly, reliable, stands to deep cold with protection.
- Color and plate appeal: Redbor and Scarlet. Burgundy pigment, great for mixes and winter salads.
- Fast baby leaf: Red Russian and White Russian. Cut at 21 to 28 days, regrowth is clean.
- Compact beds and containers: Dwarf Blue Curled. Tight habit and easy harvests.
I rotate two types every season, one for sauté and one for salads. Variety choice changes the whole vibe of your kitchen.
Succession planting that keeps the bowl full
Plant every 2 to 3 weeks for spring and again for late summer. Baby leaf hits in 25 to 30 days, while full size runs 55 to 75 days.
For heat, push bolts back with afternoon shade cloth and steady water. For fall, seed 8 to 10 weeks before first frost so plants size up before the chills sweeten them.
Pest pressure, clean control
Row cover acts like a force field against cabbageworms and flea beetles. I install it the day I transplant and remove for harvesting only.
Scout undersides weekly. Use Bt kurstaki for caterpillars, spinosad sparingly if pressure spikes, and insecticidal soap on aphids in the cool morning.
Hand pick cabbageworms at dusk, when they lounge like tourists on leaf ribs. Encourage lacewings and parasitic wasps with dill, alyssum, and coriander nearby.
Slugs chew at night. Beer traps, copper bands, and a brisk headlamp patrol do the job.
Diseases and prevention
Rotate brassicas 3 to 4 years to limit black rot, downy mildew, and Alternaria. Keep leaves dry with morning irrigation and wide spacing.
Clubroot hates sweet soil. Lime to pH 7.2 where that pathogen lurks, and keep transplants clean.
Harvest like you mean it
For whole heads, cut at 8 to 12 true leaves and eat like candy. For cut and come again, pull outer leaves when 8 to 12 inches long, 20 to 30 cm, and keep the crown pumping.
Avoid yanking more than one third of the plant in one go. Strip yellowing lower leaves to boost airflow and direct energy up top.
“Optimum storage is 32 F, 0 C, at 95 to 100 percent relative humidity. Quality holds 2 to 3 weeks.” Source: UC Davis Postharvest Technology Center
Hydrocool in a sink and spin dry before the fridge. I bag with a paper towel and keep in the crisper.
Container growing
One plant per 5 gallon, 19 liter, pot with a peat free mix rich in compost. Feed lightly every 2 to 3 weeks with liquid fish or seaweed.
Set pots where morning sun hits and afternoon shade saves your summer sanity. Water until a little drips out the bottom each time.
Companions that earn their keep
Onions, garlic, and chives confuse pests with sulfurous scent. Dill and fennel draw predators that patrol your kale for free.
Avoid planting after cabbage, broccoli, or cauliflower. Keep beds clean and flip residues fast after final harvest.
Yield, cost, and planning for the table
Expect 0.5 to 1.5 pounds per square foot per season, 2.4 to 7.3 kg per square meter, with steady picking. I average 3 to 4 pounds per plant, 1.4 to 1.8 kg, from fall through early spring under cover.
One to two plants per person keeps salads and sautés flowing. Market bunches usually sell at 3 to 5 dollars in many U.S. towns, which makes a bed pay for itself in a hurry.
Buyer’s guide in plain terms
- Seeds: Look for primed or organic seed from reputable houses like Johnny’s, High Mowing, Territorial, or Baker Creek. Disease resistance tags matter for fall crops.
- Transplants: Choose short, stocky starts with no yellowing and zero holes. Skip pot bound plants with circling roots.
- Fertilizers: Preplant with quality compost, then a balanced granular or fish 5‑1‑1 for quick greens. Blood meal and feather meal bring slow nitrogen if soil tests call for it.
- Protection: Use light row cover like AG‑19 or insect netting on hoops. Cloth pays for itself by saving leaves that you would have fed to caterpillars.
- Tools: A sharp harvest knife, a salad spinner, and a soil thermometer. Simple kit, big payoff.
Scheduling by season
- Spring: Start indoors late winter. Transplant 2 weeks before last frost once hardened off.
- Summer: Plant heat tolerant types and shade in afternoons. Keep soil evenly moist to prevent bitterness.
- Fall: Seed late summer for peak flavor. First frost flips the sweetness switch.
- Winter: In cold zones, use low tunnels with row cover plus plastic when nights drop below 20 F, minus 6 C. In mild zones, pick straight through.
Quick fixes for common problems
- Bitter leaves: Water stress or heat. Mulch, shade, and pick younger.
- Yellowing: Nitrogen dip. Feed and check drainage.
- Shot holes: Flea beetles. Row cover and wait for leaves to outgrow damage.
- Ragged edges: Caterpillars. Bt and hand picking.
- Wilting at noon: Transplant shock. Water deeply and shade a few days.
Why frost makes kale taste like it learned to bake
Cold triggers plants to move starch into soluble sugars that act like antifreeze. Your tongue reads those sugars as flavor, and the pan reads them as caramelization.
I have pulled midnight leaves in November that tasted like they snuck a spoon of brown sugar. That is the seasonal magic I chase every year.
My field notes
I direct seed a 4 by 10 foot bed, 1.2 by 3 meters, for baby leaf, and I transplant two rows for full size. I keep row cover on from day one and let it ride until the first hard freeze.
I feed light but often, water before heat spikes, and harvest with a rhythm. Plants repay steady hands with steady bowls.
Credible guidance I trust
- USDA Plant Hardiness Zone Map for timing and winter expectations.
- UC Davis Postharvest Technology Center for storage temperatures and humidity.
- University of Minnesota Extension and state Extension bulletins for cold sweetening, pest ID, and regional schedules.
- RHS and AHDB publications for variety performance in cool and wet conditions.
Recipe‑driven picking
For raw salads, harvest younger Lacinato or Red Russian leaves and slice thin across the rib. For braises, choose Winterbor or Siberian and let stems simmer low and slow.
The plant forgives you if you keep two hands moving. One hand to pick, one hand to pat the crown like a promise for next week.
Frequently Asked Questions About Growing Kale
What soil conditions best support kale growth?
Kale thrives in well-drained, loamy soils rich in organic matter. Aim for soil with a pH between 6.0 and 7.5. Incorporate generous compost or aged manure prior to planting to foster vigorous development.
How much sunlight should kale have daily?
Allow kale plants full sun exposure of around 6 to 8 hours per day for optimal leaf production. In warmer climates, providing partial afternoon shade can protect plants from excessive heat.
What spacing between kale plants ensures optimal growth?
Place kale seedlings approximately 18 inches (45 cm) apart, maintaining rows at around 24 inches (60 cm). This spacing encourages adequate airflow, reduces disease concerns, and supports healthy foliage growth.
How frequently should kale be watered during growing season?
Kale requires regular, consistent watering—provide around 1 to 1.5 inches (2.5 to 3.8 cm) of water weekly. Monitor the soil moisture carefully; water often enough to keep the soil moist but avoid waterlogging or soggy conditions.
What temperature range is optimal for kale planting?
Plant kale in temperatures between 55°F and 75°F (13°C to 24°C). Kale tolerates cold remarkably well and continues thriving even after mild frosts, enhancing its flavor under cooler conditions.
When and how should kale be harvested for best flavor?
Begin harvesting kale leaves as soon as plants reach 8 to 10 inches (20 to 25 cm) high. Start by taking leaves from the outer portions, allowing inner leaves to mature continuously. Kale typically tastes sweetest after exposure to mild frost.
Which common pests or diseases affect kale and how can they be controlled?
Pests such as aphids, cabbage worms, and flea beetles occasionally affect kale. Employ methods like manual removal, insecticidal soap applications, or floating row covers. Prevent common diseases such as clubroot and leaf spot by practicing crop rotation and maintaining clean, debris-free planting sites.
Growing Kale rewards the gardener with more than just leafy greens—it’s an exercise in patience, observation, and a little grit. Start with healthy soil, keep the water even, and don’t let pests steal your thunder.
Harvest often for tender leaves, and let a few plants bolt for seeds or pollinators. Rotate your crops, give kale some company—try pairing it with resilient neighbors like arugula or lettuce.
A little attention pays you back with flavor and nutrition that store-bought greens can’t touch. In the end, the best advice is simple: get your hands dirty, trust your senses, and let the seasons teach you.
Your kale harvest will be as honest as the care you put into the garden bed.