Growing Water Chestnut at Home: Easy Step-by-Step Guide
Growing Water Chestnut
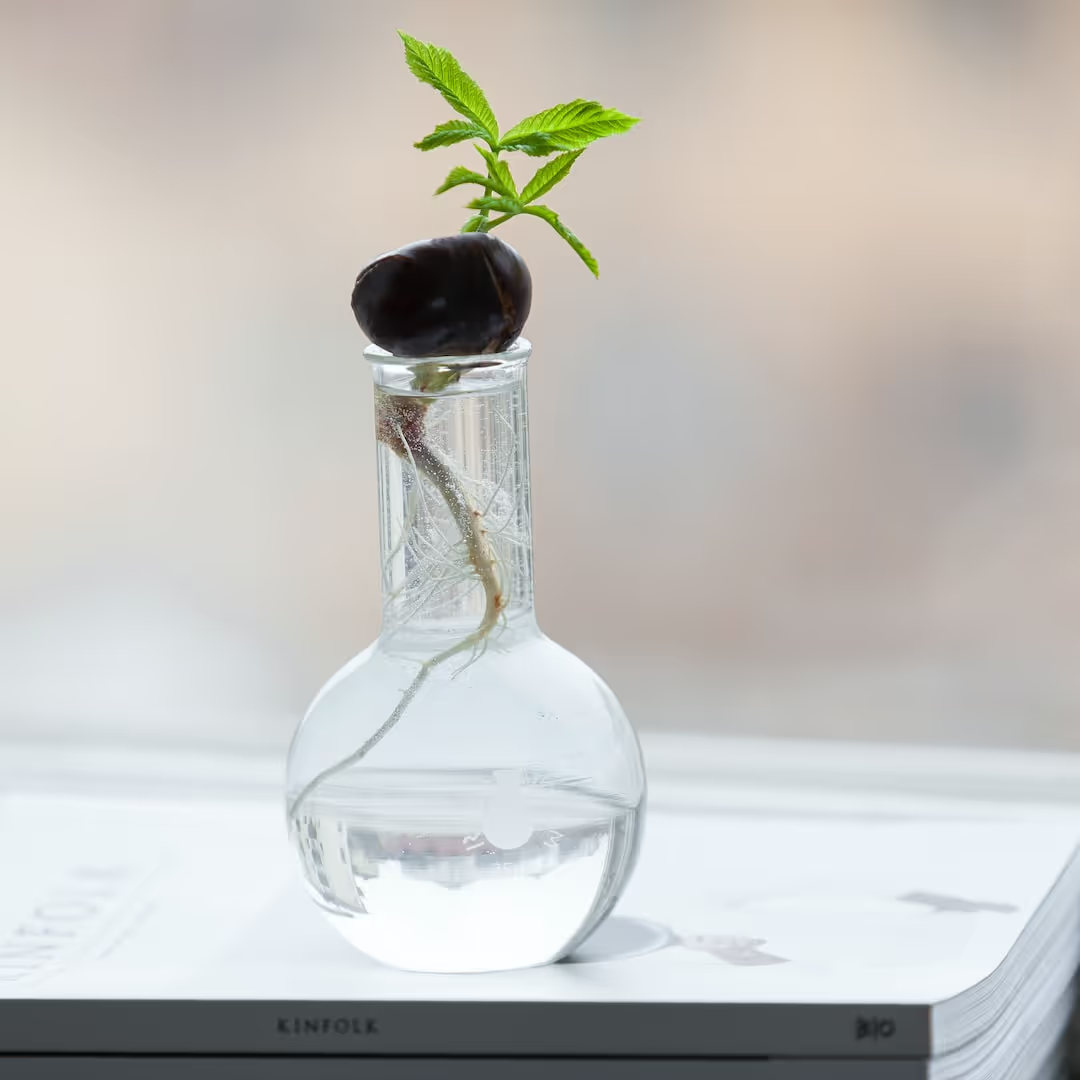
Growing water chestnut at home means cultivating crunchy, sweet corms right in your own backyard pond or container garden. Native to Asian marshes, water chestnuts thrive in shallow, warm water and loamy soil rich in organic matter. With full sun and a bit of patience, growing water chestnut transforms your garden corner into a delicious wetland harvest—read on to learn how.
Cheatsheet: Homegrown Water Chestnut Success
🌱 Choosing Tubers
Source fresh, plump tubers from Asian markets or reputable online stores. Avoid shriveled or moldy tubers.
🛠️ Tools and Products You'll Need
- Large watertight container (15–20 gal / 60–75L, min. 12 in / 30cm deep)
- Rich loamy soil (at least 6 in / 15cm depth)
- Clean, chlorine-free water
- Hand trowel
- Balanced fertilizer (optional for higher yield)
🌞 Planting Steps
- Fill container: Add 6 in (15 cm) soil, moisten thoroughly.
- Bury tubers: Push 2–3 tubers 2 in (5 cm) deep, eyes up, 6 in (15 cm) apart.
- Flood: Add water to 3–4 in (8–10 cm) above soil. Maintain water level.
- Warmth: Place in full sun. Keep water 77–86°F (25–30°C) for optimal growth.
💧 Maintenance
- Top up water weekly. Never let soil dry.
- Monthly, add diluted balanced fertilizer if leaves pale.
- Watch for algae; scoop out if needed.
⏳ Harvesting
- Ready in 7–8 months, after foliage yellows and dies.
- Drain water. Gently dig tubers from mud.
- Store unpeeled in cool, humid spot (lasts up to 2 months).
🥗 Nutrition & Self-Sufficiency
- High in fiber, potassium, vitamin B6.
- Low calorie; crisp texture ideal for salads, stir-fries.
- Homegrown tubers free from commercial preservatives.
📊 Intriguing Stats
- Each plant yields 8–10 tubers.
- Per capita water chestnut consumption in China: 1.1 lbs (0.5 kg) yearly.
-
Growing Water Chestnut at Home: Easy Step-by-Step Guide
I grow Eleocharis dulcis, the crisp Chinese water chestnut, in tubs and stock tanks because it stays contained and warms fast. It rewards patience with sweet, snappy corms that shame the canned stuff.
Know your species before you buy
We are talking about Eleocharis dulcis, a sedge with edible corms, not Trapa natans, the spiky invasive forbidden in many states. Read labels and ask for “Chinese water chestnut” or “E. dulcis” from a reputable grower.
Grocery chestnuts often have been treated and may not sprout. I source planting stock from aquatic plant nurseries or specialty veg suppliers.
Climate, timing, and patience
This is a warm-season crop that needs a long run. I start corms after the last frost when nights hold above 60 F or 16 C.
University of Florida IFAS notes Chinese water chestnut typically needs 180 to 220 frost-free days with water temperatures above 72 F or 22 C for good yields.
USDA Zones 8 to 11 can plant outdoors. Colder zones can still grow it in containers, a greenhouse, or on a hot patio.
Step-by-step: Growing Water Chestnut in Containers
1. Choose the vessel
- 100 to 200 L stock tanks, kiddie pools, half barrels with liners, or large mortar tubs all work.
- Target 15 to 25 cm of soil depth with 10 to 20 cm of water above the soil line.
I prefer black stock tanks, 100 to 300 L, because they heat quickly and do not leak. Add a simple overflow so summer storms do not blast your soil.
2. Build the “paddy” soil
- Use heavy loam or clay-loam, not fluffy potting mix.
- Blend 3 parts topsoil, 1 part clay subsoil, and 1 part well-rotted compost. No perlite.
Mix in a slow-release fertilizer with balanced NPK, such as 14-14-14, at about 5 g per liter of soil. pH between 6.5 and 7.2 keeps nutrients available and flavor clean.
3. Flood and settle
Fill with soil, tamp gently, then add water slowly until 5 cm above the soil. Let it settle 24 hours to clarify and purge trapped air.
4. Plant your corms
- Warm corms indoors for a week until eyes swell.
- Set corms 5 to 7 cm deep, eyes up, 20 to 30 cm apart.
I plant 4 to 6 corms in a 100 L tank. Keep the water just 5 to 8 cm above the soil until shoots anchor.
5. Water depth management
Once growth hits 20 cm tall, raise water to 10 to 20 cm above soil. Shallow early, deeper in midsummer for cooling and weed suppression.
6. Heat and light
Full sun is non-negotiable. Water should warm to 77 to 95 F or 25 to 35 C in daytime for best vigor.
7. Feeding schedule
- Base charge at planting with slow-release prills or pond tabs pushed into the soil.
- Top up at 8 and 16 weeks with pond plant tablets around the root zone.
They crave potassium for crisp texture and storability. I add a light kelp extract drench monthly for micronutrients.
8. Mosquito and algae control
Use Bti mosquito briquettes per label. It targets larvae and leaves everything else alone.
Shade the water with plant canopy and avoid soluble nitrogen spikes. A fistful of barley straw helps keep algae modest in small tubs.
9. Midseason care
Top up water after hot, windy days. If leaves pale, add a potassium-focused feed and check pH.
Aphids occasionally colonize emergent stems. A hard hose spray or a neem soap rinse fixes it fast.
10. Harvest, curing, and storage
Plants signal maturity when foliage browns at the base, usually 6 to 7 months after planting. Drain the tank fully, let the mud firm for a day, then dig by hand to avoid slicing corms.
Rinse gently and let skins dry to a satin sheen. For eating, refrigerate in a breathable bag 1 to 2 weeks, or pack in damp sand at 50 to 59 F or 10 to 15 C for up to 8 weeks.
For replanting, store the best corms in barely damp peat at 50 to 55 F or 10 to 13 C. Do not let them freeze or desiccate.
Field notes from seasons that worked and a few that didn’t
My highest yield came from a 200 L tank with seven plants and water fluctuating 8 to 15 cm in late summer. The corms finished dense and sweet, with that glassy snap you hear across the kitchen.
The worst year, I kept water too deep during a cool spring and growth stalled. Shallow water early changed everything the next time.
Expected yields
From a healthy plant, I see 15 to 30 market-grade corms the size of ping pong balls. That’s roughly 0.7 to 1.5 kg per plant, with outliers on rich, hot patios.
NSW Department of Primary Industries reports commercial plantings can hit 4 to 7 tonnes per hectare, depending on heat units and fertility.
Buying guide: corms, containers, and kit
- Planting corms: Choose firm, heavy pieces with intact brown skins and visible eyes. Avoid shriveled or moldy stock.
- Containers: Black stock tanks or food-safe barrels warm quickly and last. Kiddie pools are cheap but puncture easily.
- Fertilizers: Pond plant tablets simplify dosing under water. Slow-release pellets at planting cut labor later.
- Test gear: A simple pH kit and a soil thermometer keep you honest in spring.
- Safety: Use dedicated tubs and never release plants into natural waterways.
Growing Water Chestnut vs lookalikes and alternatives
Chinese water chestnut vs Trapa natans
- Eleocharis dulcis: Grasslike sedge, round edible corms, safe to grow in containers.
- Trapa natans: Floating rosettes with horned seeds, invasive and frequently illegal to possess.
Great aquatic edibles to rotate
- Taro (Colocasia esculenta): Loves heat and shallow water, harvest corms or leaves with proper cooking.
- Lotus (Nelumbo nucifera): Stunning flowers, edible rhizomes and seeds, needs big tubs.
- Watercress (Nasturtium officinale): Cool-season counterpoint for spring and fall.
Troubleshooting fast
- Pale leaves: Check nitrogen and iron. Correct pH to 6.5 to 7.2 and feed.
- Soft, bland corms: Too much shade or cool water. Move to full sun and keep water warm and shallow early.
- Rotting crowns: Anaerobic muck overloaded with fresh manure. Use mature compost and let soil settle before planting.
- Black aphids on stems: Blast with water or use insecticidal soap. Lady beetles clean up if you give them a week.
Food safety and flavor
Peel right before cooking to keep the crunch that chefs chase. I blanch 60 seconds, then stir-fry, which preserves snap while taming pond microbes.
Fresh corms carry 90 to 95 percent moisture and roughly 4 percent sugars. That sugar spikes a touch with cool nights at finish.
Season extension tricks
- Start corms indoors in shallow trays at 75 F or 24 C two weeks pre-plant.
- Wrap tanks with black plastic and set on foam boards to trap heat.
- In cold snaps, float clear lids or greenhouse film to build a warm microclimate.
Eco and legal notes
Keep this plant out of natural ponds and streams. Use dedicated gear so you do not carry fragments into wild water.
States differ on aquatic plant rules. Check your agriculture department before ordering planting stock.
Citations I trust when Growing Water Chestnut
- University of Florida IFAS Extension, Chinese Water Chestnut crop notes and production guides.
- NSW Department of Primary Industries, Water Chestnut growing and postharvest guidelines.
- UC ANR and specialty vegetable extension sheets on warm-season aquatic crops.
- FAO and AVRDC reports on aquatic vegetable production statistics and handling.
Quick FAQ from my inbox
Can I plant canned water chestnuts? No, they are cooked and will not sprout.
Can I grow in a natural pond with fish? Fish like koi uproot plants and cloud the water, so I keep chestnuts in separate tubs.
Do they need constant flow? They prefer quiet, warm water with steady depth.
How many plants per 100 L tank? Four to six plants fill it nicely without crowding.
A cook’s coda
The best plate I pulled from a backyard tank was a wok of snow peas, garlic chives, and coins of chestnut still crackling from the knife. Grow for that sound as much as the taste, and you will stick the landing.
Frequently Asked Questions About Growing Water Chestnut
What is the ideal environment for cultivating water chestnuts at home?
Water chestnuts flourish best in a sunny, warm environment within shallow water containers or ponds. Maintain temperatures consistently between 70°F and 85°F (21°C - 29°C) to support vigorous growth and healthy tuber formation.
How deep should I plant the water chestnut corms?
Place the corms gently in containers filled with rich, muddy soil, submerged under approximately 4 to 6 inches (10 - 15 cm) of water. This promotes proper root establishment and ensures healthy stem emergence above the waterline.
How do I keep my water chestnut plants healthy?
Provide consistent water conditions by ensuring the water level remains steady, refreshing the water regularly to avoid stagnation and algae buildup. Use nutrient-rich, fertile mud fortified with organic fertilizer or compost to encourage lush foliage and plentiful tuber growth.
When is the right time to harvest water chestnuts grown at home?
Harvest the tubers after approximately 7 to 8 months of growth, typically indicated by yellowing leaves. Carefully drain the container, then gently remove the matured water chestnuts from the muddy soil to protect them from damage.
What common issues might arise in water chestnut cultivation?
Common concerns include overly cold temperatures, poor drainage, and nutrient deficiencies. Monitor ambient temperature to ensure it remains consistently above 65°F (18°C), regularly refresh water to prevent algae, and address nutrient depletion by periodically adding nutrient-dense organic material.
How can harvested water chestnuts be stored properly?
For optimal freshness, rinse harvested water chestnuts thoroughly before air-drying. Store tubers in a cool, damp environment such as covered containers in the refrigerator, where they stay fresh for approximately 1 to 2 weeks. For extended storage, peeled chestnuts freeze well in airtight bags for several months.
Growing Water Chestnut at home is a lesson in patience and reward. These aquatic plants might seem exotic, but with the right setup—a sunny spot, a watertight container, rich soil, and regular care—they thrive. The real trick is giving them time: don’t rush the process, and you’ll be rewarded with crisp, sweet corms that beat anything from a can. Remember, maintaining steady water levels and harvesting at the right moment makes all the difference. For those who enjoy experimenting, try branching out with other water-loving edibles like cattails. The world of homegrown flavors is bigger than you think. In short, growing water chestnut brings a little wildness to your table—and a whole lot of satisfaction to your hands.
The Prepper's Guide to Growing Water Chestnut: Food Security at Home
Yield Efficiency and Storage Strategies
- High Yield Potential: 1 square meter (approx. 10 sq ft) yields up to 2 kilograms (4.4 lb) of edible corms after 6-8 months.
- Nutritional Density: Rich in potassium, manganese, copper, and vitamin B6; water chestnuts store energy effectively in compact form.
- Storage Solution: Store fresh chestnuts submerged in clean, cold water (change water daily) for up to 2 weeks or refrigerate wrapped tightly in moist towels for long-term freshness lasting 1-2 months.
- Drying Technique: Slice thinly, sun-dry or oven-dry below 140°F (60°C), then seal in airtight containers. Rehydrate easily by soaking for 15 min in warm water.
Water Chestnut Cultivation Under Crisis Conditions
- Minimal Water Usage: Cultivate successfully in shallow containers (10-15 cm / 4-6 inches depth). Periodic top-off conserves water during scarcity.
- Flexible Growing Medium: Thrives in improvised media such as recycled pots or plastic bins filled with clay-rich garden soil mixed with organic compost.
- Optimal Environmental Conditions: Maintain growth above 54°F (12°C) while keeping temperatures below 95°F (35°C). Move containers indoors during extreme weather.
- Backup Crop Option: Replant sprouted corms to establish continuous cultivation cycles, ensuring stable nutritional supply year-round.
Find out which plants will thrive in your garden!
Answer a few fun questions and get custom plant recommendations perfect for your space. Let’s grow something amazing together!

start your season
