Growing Collard Greens for a Flavorful Garden Harvest
Growing Collard Greens
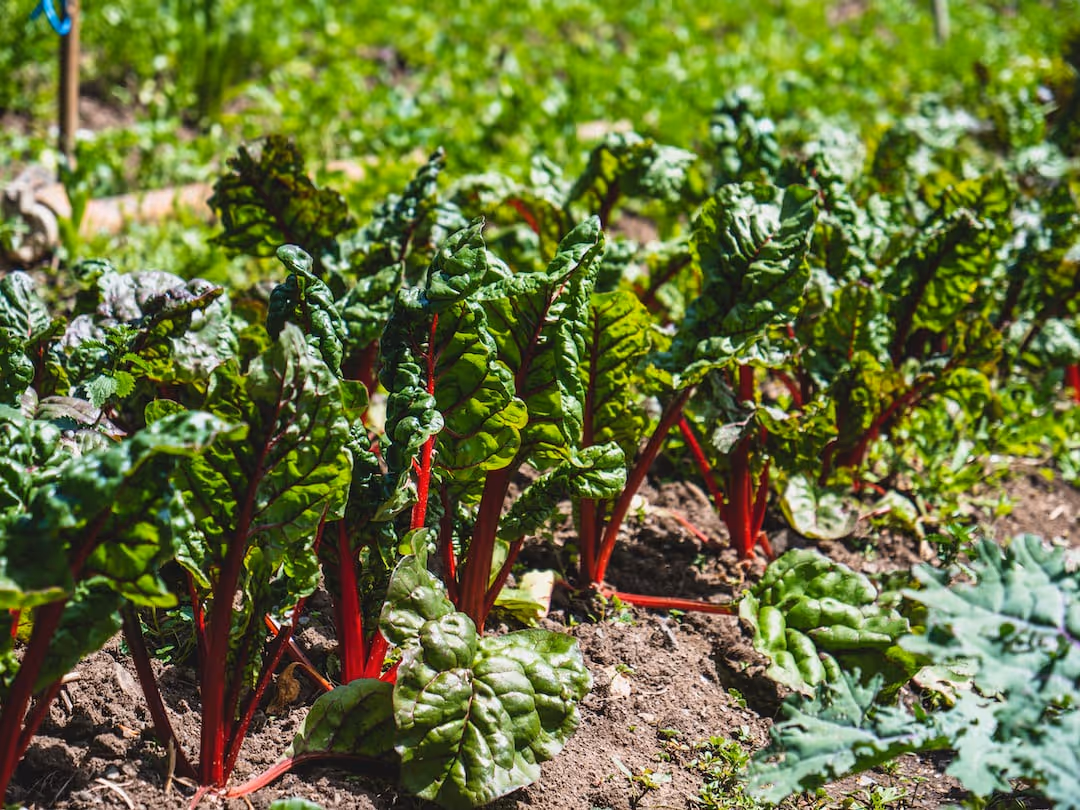
Growing collard greens delivers abundant harvests of nutrient-rich leafy greens even to novice gardeners. Sow seeds directly outdoors in early spring or late summer, allowing space for each sturdy plant to spread comfortably. Growing collard greens rewards patience with hearty foliage ideal for savory dishes—read on to cultivate your own southern comfort.
Cheatsheet: Grow Strong, Flavorful Collard Greens
🌱 Planting Setup
- Sow early spring & late summer for fall crop
- Ideal soil temp: 50-85°F (10-29°C)
- Full sun; part shade tolerable
- Space seeds 18" (45cm) apart, ¼–½" (6–12mm) deep
Collard seeds, compost, mulch
Trowel, watering can, hoe
💧 Water & Feed
- Keep soil moist; avoid soggy roots
- Feed monthly: balanced organic fertilizer
- Mulch to retain moisture & suppress weeds
🌿 Care & Health
- Harvest leaves at 10"+ (25cm)
- Young leaves = sweetest flavor
- Frost improves sweetness, vitamin C rises 50% post-frost
- Pick outer leaves, let inner grow
🛠️ Tools and Products You’ll Need
- Sharp scissors or knife
- Row cover (optional, for pest control)
- Well-draining soil, compost, mulch
🦠 Pest & Problem Defense
- Check for cabbage worms, aphids
- Handpick or use insecticidal soap
- Rotate crops yearly
🥗 Nutrition & Uses
- Rich in vitamin K, C, A, calcium, fiber
- Supports immunity, bone strength, digestion
- Use fresh in salads, soups, stir-fry, chips
🔥 Step-by-Step Quickstart
- Prepare fertile, weed-free bed
- Sow seeds or transplants at specified spacing
- Water after planting, keep moist
- Thin seedlings to 18" (45cm) apart
- Apply mulch, fertilize each month
- Inspect weekly for pests; remove as needed
- Harvest leaves at desired size; repeat
-
Growing Collard Greens: timing, climate, and flavor
I sow collards as soon as soil hits 50 to 55 F (10 to 13 C) in spring and again in late summer for a fall feast. Cool nights tighten the flavor and frost turns the leaves sweet.
Spring plantings carry me into early summer, but fall crops taste better in my kitchen. Heat pushes plants to bolt, so I shift to shade cloth in July.
“Collards are very hardy and do well in cool weather; leaves are sweeter and more tender after frost.” — University of Georgia Cooperative Extension
Soil setup that pays off
I aim for pH 6.2 to 6.8, rich in organic matter and steady nitrogen. A soil test steers the plan, then I mix in 1 to 2 inches (2.5 to 5 cm) of finished compost per bed.
Collards are heavy feeders, so I preplant with 3 to 4 pounds of actual nitrogen per 1,000 sq ft (1.5 to 2 kg per 100 m²) spread across compost and a balanced organic fertilizer. That front-loads growth without watery leaves.
If your soil runs low in boron, midribs split and heads hollow. I correct with a light boron solution once per season: 1 teaspoon borax in 5 gallons (19 L) of water across 100 sq ft (9.3 m²), never more.
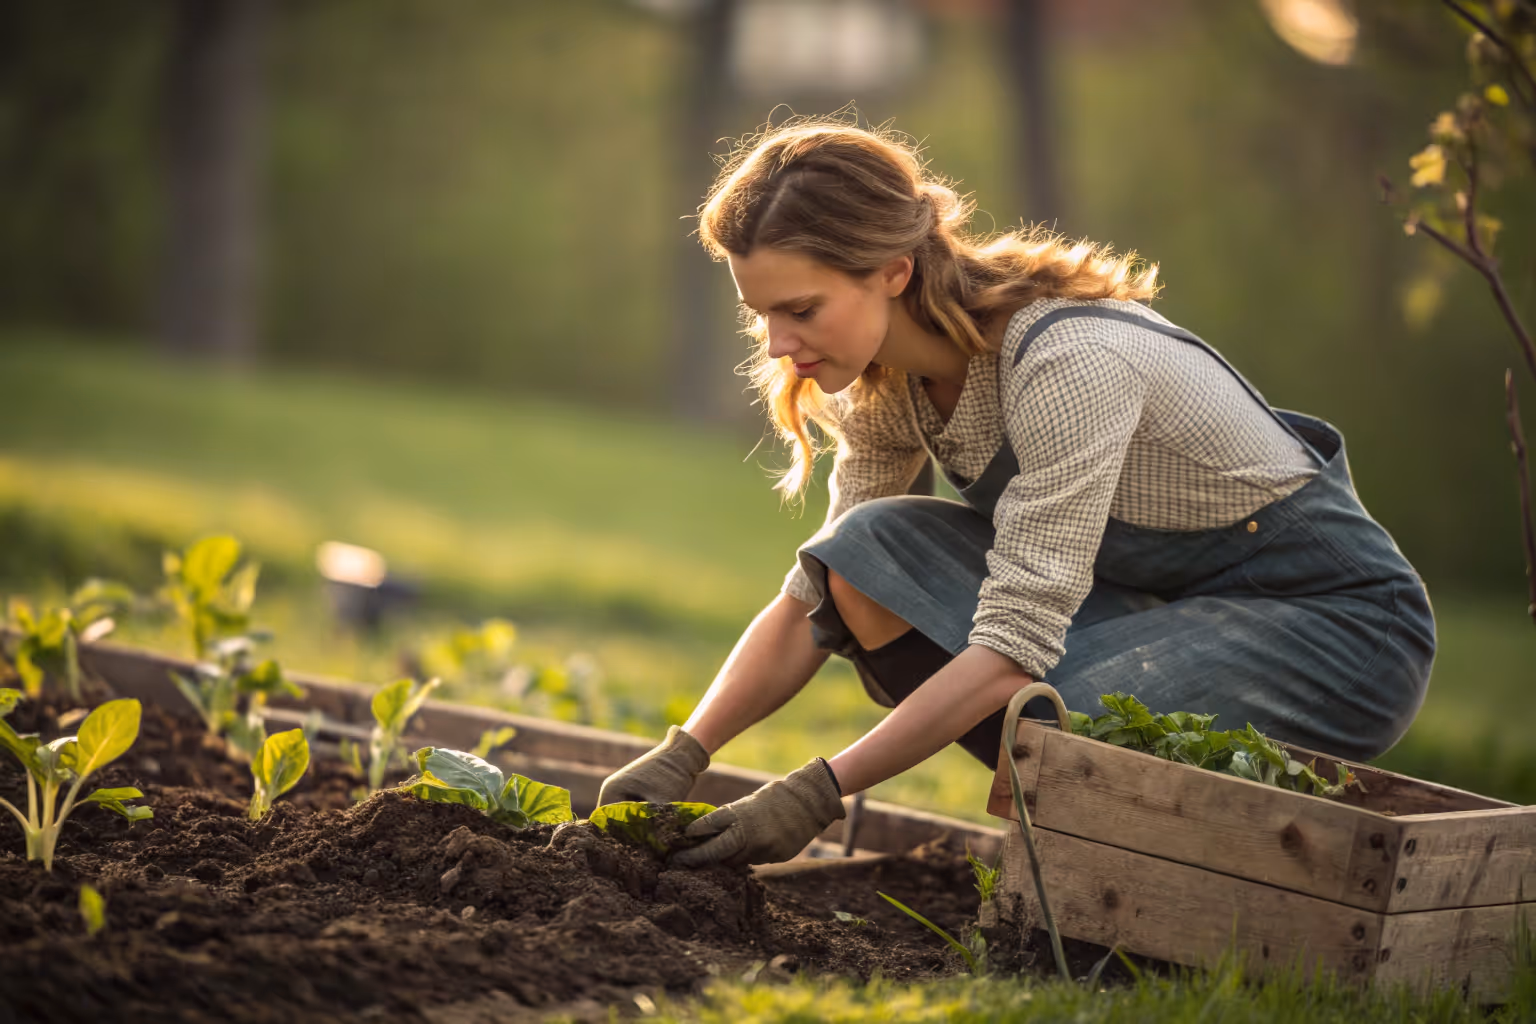
Direct sow or transplants
I do both, depending on the calendar and flea beetle pressure. Transplants jump ahead in spring; direct sowing shines for fall beds.
- Transplants: start seeds 4 to 6 weeks before set-out; harden off for 7 days; set deep to first true leaves.
- Direct sow: plant 0.25 to 0.5 inch deep (6 to 12 mm), thin early, and use insect netting from day one.
Spacing, density, and succession
For broad, crinkled leaves, I give 18 inches (46 cm) between plants and 24 inches (61 cm) between rows. For cut-and-come-again, I tighten to 10 to 12 inches (25 to 30 cm) and harvest outer leaves weekly.
I sow every 2 to 3 weeks from late summer into early fall for a steady drumbeat of harvests. That staggered rhythm beats a glut every time.
Water, feeding, and mulch
Collards want 1 to 1.5 inches (2.5 to 4 cm) of water per week, more in sandy beds. I watch the leaf lift at dawn; droop means I missed the mark yesterday.
I side-dress with a nitrogen source at 3 to 4 weeks and again at 6 to 7 weeks. A 2 to 3 inch (5 to 7.5 cm) mulch of shredded leaves locks in moisture and keeps mud off the dinner.
My top varieties for flavor and resilience
- ‘Champion’: slow to bolt, thick leaves, terrific after hard frost.
- ‘Vates’: compact habit, perfect for smaller beds and containers.
- ‘Georgia Southern’: big, tender leaves; classic pot-likker fodder.
- ‘Morris Heading’: semi-heading rosettes that braise like a dream.
- ‘Flash’: fast growth, uniform, dependable for market bundles.
- ‘Couve Galega’ (Portuguese kale-collard): tall, mild, great for long harvests.
- ‘Top Bunch 2.0’: tidy, fast, and handles stress with grace.
Container and patio Growing Collard Greens
One plant per 5 to 7 gallon (19 to 26 L) pot works, with at least 12 inches (30 cm) of depth. I use a peat-free mix, slow-release organic fertilizer, and a weekly liquid feed once leaves hit my palm size.
Keep containers at 60 to 75 F (16 to 24 C) for steady growth. In heat, move pots to afternoon shade and water early.
Season extension and heat strategy
Floating row cover protects down to the low 20s F (-6 C) and pushes growth in spring and fall. In my zone 7 bed, low tunnels with clear film carry collards into January on most years.
In July, 30 percent shade cloth prevents bitterness and tipburn. Morning harvests and ice water crisping save texture when the sun cooks the bed.
Pest pressure and clean leaves
Expect imported cabbageworm, cabbage looper, aphids, flea beetles, harlequin bugs, and slugs. Good airflow and dry leaves at dusk make a big difference.
- Prevention: insect netting from seeding, weed control, and strict rotation away from Brassicas for 3 to 4 years.
- Biologicals: Bt kurstaki for caterpillars; time sprays for evening when bees are home.
- Soft controls: insecticidal soap for aphids, iron phosphate bait for slugs, hand-pick harlequins into soapy water.
- Nutrition balance: excessive nitrogen invites aphids; I feed steady, not heavy.
Diseases and how I dodge them
Black rot, downy mildew, and Alternaria leaf spot lurk in wet, warm spells. I avoid overhead irrigation, space plants wide, and keep mulch off the crown.
Sanitation matters. I pull and bin infected leaves fast and never compost diseased Brassica residue.
Companions, rotation, and soil life
I pair collards with onions, garlic, dill, and calendula for reduced aphid pressure and easy harvesting lanes. I never follow collards with broccoli, cabbage, or mustard the next season.
Between crops I run a quick buckwheat or a winter rye and crimson clover cover, then terminate early for a mellow seedbed. The soil breathes better and the leaves taste cleaner.
Harvest technique, yield, and storage
I start with baby leaves at 30 days, then take outer leaves as large as my hand while keeping the growing point intact. A mature plant gives me 1 to 2 pounds (0.45 to 0.9 kg) every couple weeks in fall.
Over a season, I pull 3 to 5 pounds (1.4 to 2.3 kg) per plant, more in cool weather. For storage, I chill unwashed leaves at 32 to 36 F (0 to 2 C) in high humidity and eat within 7 to 10 days.
For the freezer, I blanch 3 minutes, chill, spin dry, and pack flat. Mid-February me thanks October me every time.
Cooking payoff and nutrition
Collards carry smoke and fat like a well-seasoned skillet. They also bring serious nutrition without the calorie baggage.
“Per 100 g cooked collards: ~33 kcal, ~2.7 g protein, ~3.6 g fiber.” — USDA FoodData Central
Frost bumps sugars, and I can taste it even before the Brix meter says so. A gentle braise with garlic and a splash of vinegar puts the day to bed.
Collards vs kale vs mustard: quick picks
- Heat tolerance: collards handle summer better than kale; mustard wilts early.
- Cold resilience: collards ride out the low 20s F (-6 C) with cover; kale curls along; mustard stalls.
- Flavor: collards bring mineral depth; kale leans nutty; mustard runs peppery.
- Texture: collards stay silky when braised; kale shines raw; mustard excels as a punchy accent.
Hydroponic Growing Collard Greens
Collards flourish in DWC or NFT with pH 5.8 to 6.5 and EC 1.6 to 2.0 mS/cm. I run cool nutrient temps at 65 to 68 F (18 to 20 C) to prevent tipburn.
Harvest baby leaves weekly for pristine bundles. Big leaves work in hydro, but airflow and dehumidification keep mildew off the menu.
Shopping list to get started
- Seeds: at least two varieties from reputable regional breeders for resilience.
- Insect netting or lightweight row cover, hoops, and ground pins.
- Balanced organic fertilizer plus a high-N side-dress option.
- Soil test kit, pH adjusters, and a simple soil thermometer.
- Mulch: shredded leaves, clean straw, or pine needles.
- Harvest knife, produce tub, and a salad spinner for rapid cooling.
Field notes from repeated trials
I get the best fall flavor planting 8 to 10 weeks before first frost, then riding a low tunnel into winter. Leaves taste like the garden is whispering to the kitchen.
In hot spells, a 30 percent shade cloth plus predawn irrigation keeps leaves from turning leathery. That single move saved an August planting that looked doomed at noon.
FAQ quick hits on Growing Collard Greens
How long do they take: baby leaves in 30 days, full-size in 55 to 85 days depending on variety and season. Fall crops often run slower but taste better.
How many plants per person: for steady sides, I grow 3 to 4 plants per adult. For heavy cooking and freezing, 6 to 8 plants per adult.
Will they survive frost: yes, down to the low 20s F (-6 C) with light cover. Hard freezes call for thicker fabric or a tunnel.
Why are leaves bitter: heat, drought, or overmature leaves. Pick in the morning, water steadily, and grow for fall for sweetest plates.
Do I topdress: yes, lightly every few weeks with nitrogen, then back off near harvest. Overfeeding invites aphids and floppy growth.
Frequently Asked Questions About Growing Collard Greens
What's the ideal soil for healthy collard greens?
Collards hunger for rich, fertile, and well-draining soil. Amend your garden beds with plenty of aged compost before planting, ensuring nutrients linger to nurture vigorous, leafy plants.
How much sunlight do collard greens crave?
Collard greens desire a hefty dose of sunlight, thriving best in full sun with at least 6 to 8 hours daily. While they'll tolerate partial shade, the leafy yield and flavor deepen beneath steady sunshine.
When is the perfect time of year to plant collards?
For finest results, plant collard greens in early spring or late summer, allowing them to mature in cooler temperatures. Cool weather sweetens their flavor, making autumn and winter harvests especially satisfying.
How often should you water collard greens?
Collards enjoy consistent hydration, roughly 1 to 1.5 inches of water per week. Balance watering to keep soil moist but never soggy, a delicate dance to ward off diseases and ensure steady growth.
What pests commonly challenge growers of collard greens?
Watch diligently for aphids, cabbage worms, and flea beetles. Regular scouting, removal by hand, or gentle organic interventions like neem oil or insecticidal soap guard your leafy harvest from becoming a pest's banquet.
What's the best way to harvest collard greens?
Begin harvesting collards when leaves reach 10 to 12 inches in length. Select the lower outer leaves first, slicing them close to the stem. Leave the inner foliage intact to ensure continuous growth and prolonged harvest.
Can collard greens handle frost?
Indeed, collards relish the cold, tolerating and even benefiting from light frosts. A kiss of frost sweetens their leaves, lending a nuanced, rich flavor that distinguishes homegrown collards from supermarket varieties.
Growing Collard Greens gives you more than just a leafy staple—it’s about coaxing flavor out of soil, sun, and patience. With a bit of care, steady watering, and an eye for pests, these reliable greens can turn a modest backyard plot into a dinner table standout. Pick leaves young for tenderness or let them size up for a heartier bite. Rotate your crops, and don’t skimp on rich compost; collards will reward you with harvests long after most summer greens have wilted. If you’re looking for new plant neighbors, broccoli and collards share similar needs—making crop planning a breeze. Bring collards into your garden, and you’ll get a harvest that’s both forgiving and full of soul, season after season.
The Homesteader's Guide to Collard Greens for Year-Round Self-Sufficiency
High-Yield Varieties to Select
- Georgia Southern: compact plants produce abundant leaves ideal for preserving
- Morris Heading: cold-resistant, prolific leaf formation, suited for winter harvesting
- Vates: quick maturation (55-60 days), consistent yields, resistant to bolting
Efficient Planting Techniques
- Sow densely (1 seed per 3-4 inches/7-10 cm) and thin young greens for tender kitchen use, leaving 15-18 inches (38-45 cm) between mature plants for full-leaf production.
- Interplant collards with garlic, onions or herbs (thyme, basil) to naturally deter cabbage worms.
- Use succession planting every 3-4 weeks to maintain continuous harvest and avoid glut.
Natural, Cost-Effective Soil Amendment
- Apply aged compost (1-2 inches/2-5 cm) twice annually; enriches soil fertility, retains moisture, and reduces external fertilizer dependency.
- Wood ash (from untreated wood) lightly sprinkled around base offers potassium and calcium, improves flavor and plant hardiness.
Optimal Harvest and Preservation Methods
- Harvest outer leaves regularly when 8-10 inches (20-25 cm) long to stimulate ongoing leaf growth.
- Blanch harvested greens for 2 minutes in boiling water, quickly cool in ice water, drain thoroughly, package, and freeze for long-term storage.
- Ferment collards into sauerkraut as nutritional probiotic-rich preserve; store jars in a cool place.
Nutritional Advantages of Homegrown Collards
Each cup (190 g cooked) provides high levels of vitamins K (770 mcg), A (308 mcg), folate (177 mcg), calcium (268 mg), and ample dietary fiber (7.6 g). This nutrient density supports strong bones, immune health, and balanced diets without external supplements.
Find out which plants will thrive in your garden!
Answer a few fun questions and get custom plant recommendations perfect for your space. Let’s grow something amazing together!

start your season