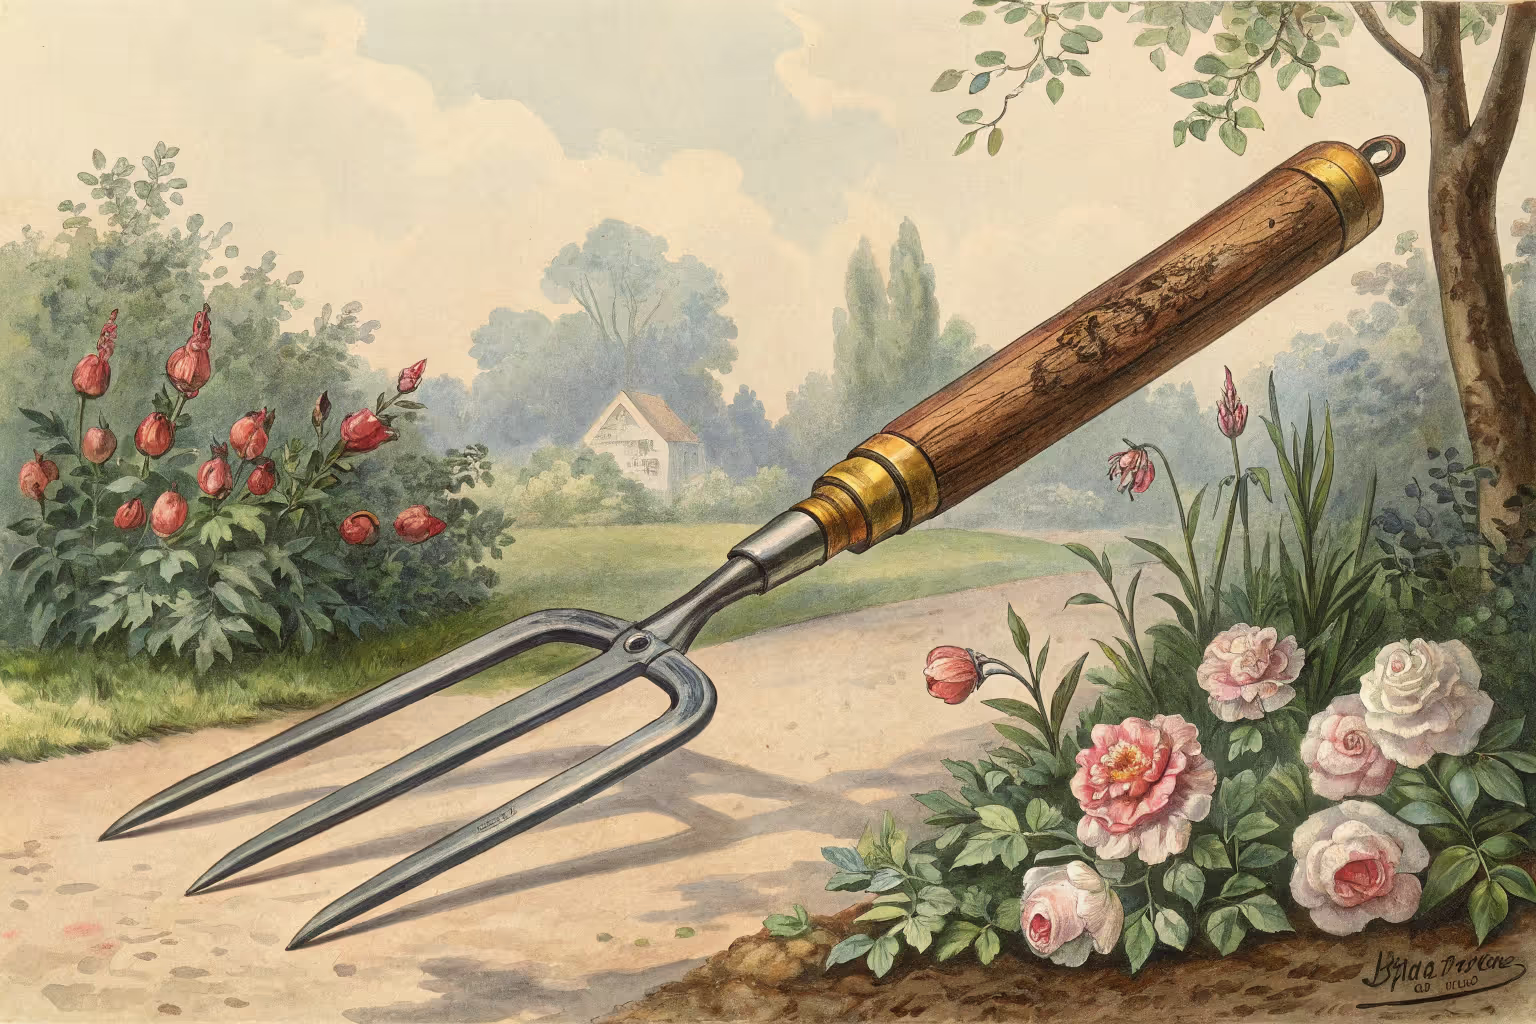
Hand Cultivator: Effortless Artistry for Your Garden

Hand cultivator
A hand cultivator loosens soil, uproots stubborn weeds and prepares garden beds swiftly without disturbing neighboring plants. Using a hand cultivator aerates soil, improving moisture and nutrient absorption for healthier roots. With minimal effort and simple technique, a quality hand cultivator transforms routine garden work into satisfying artistry—read on to master your own garden masterpiece.
Cheatsheet: Perfect Soil Prep with a Hand Cultivator
🛠️ Tools and Products You’ll Need
- Hand cultivator—3 or 5-tine, steel or aluminum
- Gardening gloves
- Mulch or compost (optional)
- Kneeling pad (optional)
🌱 Why Use a Hand Cultivator?
- Boosts drainage and root growth
- Reduces heavy weed infestations by up to 80%
- Minimizes strain—protects wrists, back, and joints
- Preserves worms and microbes for healthy yields
🧩 5 Key Steps for Flawless Results
- Check soil moisture: Work when soil is lightly moist (clumps but crumbles). Avoid wet, sticky, or bone dry.
- Grip handle firmly: Position tines downward, use even wrist pressure.
- Loosen soil: Draw tines through soil (depth: 2–4 in / 5–10 cm); break compacted clods.
- Dislodge weeds: Aim tines below weed crowns; lift gently to remove root and all.
- Finish & feed: Mix in compost; level for planting or mulching.
🍅 Boost Nutrition & Self-Sufficiency
- Better soil equals tastier, nutrient-dense harvests
- Regular use saves time, increases food security
- Hand tools lower physical wear and tear—garden longer, harvest more
💡 Pro Tips
- Sharpen tines yearly for 30% more efficiency
- Disinfect between beds to prevent disease spread
- Use left-to-right pull for minimal wrist strain
Hand cultivator: effortless artistry for your garden
I reach for a hand cultivator before coffee some mornings, because it lets me read the soil like braille and correct it in seconds. No motor noise, no fuss, just quiet precision.
What a hand cultivator actually does
It loosens crusted soil, slices tiny weeds, blends compost, and sets seedbeds without wrecking structure. In raised beds and borders, it is the surgical tool that keeps roots breathing and water infiltrating.
Picture a small claw or rake with 3 to 5 tines, sometimes offset for knuckle clearance. The tines shear through the top 1 to 2 inches, which is where most weed seedlings and capillary crust live.
Anatomy of a great hand cultivator
- Tine steel: Forged high carbon or stainless, with a stiffness that resists springing under load.
- Hardness: I favor tools in the HRC 50 to 55 range, they bite, yet still take a file well.
- Geometry: Slightly curved tines pull soil toward you, straight tines rake and level, triangular tines cut better in clay.
- Handle: Ash or hickory for feel, fiberglass for wet work, a palm swell prevents hot spots.
- Balance: The head should feel like an extension of your knuckles, not a club out front.
Technique that saves wrist and soil
I keep my wrist neutral, elbow tucked, and pull with short strokes, like scraping burnt bits from a cast iron pan. Go shallow, 1 inch or 2.5 cm max, and you protect aggregates and earthworms while still uprooting seedlings.
Work across the bed, then along it, to crosshatch clods into a crumb that drinks rain. I finish with a light rake to level, no pounding.
“Hoe on a dry day and leave weeds to wilt.” Royal Horticultural Society guidance
Weed control the smart way
Hit weeds at the cotyledon stage, those first little seed leaves, they die fast with a single pass. I skim cut, let the sun do the rest, and resist the urge to yank unless roots resprout.
For rhizomatous thugs like bindweed, I disturb soil as little as possible to avoid spreading fragments. In that case I cut often, starve the roots, and mulch between passes.
Soil health and why shallow wins
Shallow cultivation breaks the crust that blocks infiltration and gas exchange. Deep churning collapses pores and leaves soil tight as a stale brownie.
“It can take more than 100 years to form one inch of topsoil.” USDA NRCS
Every light pass with a hand cultivator preserves that investment while still creating tilth. I treat the top inch like a bakery counter, clean, fluffed, and ready for seed.
Use cases I keep running into
- Seedbed prep: Two passes, scatter seed, draw a faint furrow with a tine, then firm with the back of the head.
- Side dressing: Scratch in compost or feather meal around tomatoes at 6 inches or 15 cm from the stem.
- Drip line cleanup: Glide between emitters and keep roots oxygenated without snagging tubing.
- Container refresh: Break the crust, fold in fresh mix, then water to settle fines.
My field notes on tine shapes
- Three tine claw: Fast and nimble, excels in loam and mulched beds.
- Five tine rake: Levels and incorporates amendments evenly, great for seedbeds.
- Hoe hybrid heads: Triangle or stirrup mini heads slice better in heavy clay but demand lighter hands.
How I avoid wrist fatigue
I keep strokes short, switch hands every bed, and use a grip that lines knuckles with the tines. Warm soil moves easier, so I schedule heavy cultivation in late morning once dew is gone.
“Neutral wrist posture reduces strain risk during repetitive garden tasks.” Ergonomics guidance from NIOSH
Moisture, timing, and the art of the pass
If soil squeezes into a glossy ribbon, it is too wet, wait or you will smear pores. If it powders with a scrape, you are in the sweet spot.
One inch of rain equals about 0.62 gallons per square foot, 25.4 mm equals about 25 liters per square meter. NOAA hydrology standard
I cultivate right after a light sprinkle or irrigation, the surface loosens, then I mulch while it is still breathing. That locks in moisture and shuts down new weeds.
Maintenance that keeps it sharp
- File the leading edges at 25 to 30 degrees, two minutes per tine.
- Wipe metal with camellia oil, dry with a rag, store off the ground.
- Light rust gets a scrub with a scouring pad and vinegar, then neutralize with water and dry.
- Tighten ferrules and replace loose pins before the handle chews out.
Buying guide, what to look for
- Fit and feel: Grip a few sizes, the right one disappears in your hand.
- Material: Forged steel outlasts stamped, stainless resists rust in coastal air.
- Head size: Narrow heads snake between plants, wider heads prep beds faster.
- Warranty: Lifetime or multi year warranties signal quality and good heat treatment.
- Weight: 8 to 14 oz, 225 to 400 g, is a sweet spot for all day use.
- Price: Expect 20 to 70 USD, 18 to 65 EUR, quality pays back in seasons saved.
Top hand cultivators I trust
- Forged three tine claw with ash handle: My daily driver for beds and baskets, slices and pulls without clogging.
- Stainless five tine seedbed rake: Evens compost and preps a fine tilth for carrots and salad.
- Offset ergonomic claw with palm swell: Friend to tender wrists, great under shrubs where knuckles bash bark.
- Compact triangle head mini hoe: For clay, onions, and tight rows where precision beats brute force.
Alternatives and companions
- Hand fork: For lifting bulbs and teasing out deep roots without cutting them to bits.
- Stirrup hoe, short handle: Oscillating loop that skims weeds fast in sandy beds.
- Collinear hoe: Razor thin blade for surgical weeding right at the soil skin.
- Hori hori or soil knife: Cuts roots, opens bags, marks rows, the Swiss Army partner to a hand cultivator.
- Korean hand plow: Single curved tine that parts soil cleanly in tight quarters.
Seasonal rhythm I follow
- Spring: Weekly skims to keep cotyledons in check, light compost incorporation.
- Summer: Post irrigation crust break, side dress and scratch in around heavy feeders.
- Autumn: Blend cover crop seed into the top half inch, then rake smooth.
- Winter: Clean, oil, and sharpen, then hang tools where air moves.
Safety and plant savvy
I give stems a 3 inch, 7.5 cm, buffer to avoid slicing feeder roots. In drip zones, I use fingertip pressure and shallow strokes to avoid nicking lines.
If a bed has fungal disease history, I scrub and oil the head before moving on. Cross contamination is real and easy to prevent.
Quick troubleshooting
- Soil smears: Too wet, wait a day, then try again.
- Tines clog: Increase stroke speed slightly and reduce depth, clay loves to stick to dull steel.
- Wrist ache: Drop your shoulder, neutralize wrist, and switch hands every 5 minutes.
- Weeds bounce back: You cut too high, angle the tines flatter to sever below the crown.
Little truths from long days
A hand cultivator teaches patience like a sourdough starter, small daily care beats weekend heroics. I have watched a bed double its worm count after a season of shallow passes and mulch, the soil felt springy underfoot like a good sponge cake.
Citations and further reading
- USDA Natural Resources Conservation Service, Soil Health Basics.
- Royal Horticultural Society, Weeds and hoeing guidance.
- NOAA National Weather Service, Rainfall to runoff conversions.
- NIOSH, Ergonomics and musculoskeletal health for hand tools.
- University extension publications, Weed control at the seedling stage and shallow cultivation practices.

Want smarter plant choices? 🪴
Frequently Asked Questions on Mastering Your Garden with a Hand Cultivator
How often should a hand cultivator be used in garden maintenance?
Run your hand cultivator through garden beds once every one to two weeks to break up soil, eradicate weeds before they thrive, and stimulate air flow to roots. Early mornings or cool evenings are ideal times, preserving moisture and avoiding undue plant stress.
What's the optimal technique to avoid root damage when cultivating?
With a gentle yet intentional motion, scrape the hand cultivator shallowly into the top inch of soil around established plants. Stay attentive—roots lie just below the surface, so finesse over force preserves plant integrity.
Can a hand cultivator effectively handle rocky or clay-heavy soil?
A sturdy hand cultivator loosens compacted clay and clears away surface stones, but dense, rocky soils may require preliminary preparation. Mixing organic matter first makes the process smoother, allowing the cultivator's tines to slide comfortably beneath the surface.
How do I maintain and sharpen my hand cultivator?
Keep your hand cultivator sharp and clean by rinsing off dirt and debris after each session. Periodically run a metal file along the edges of the tines, ensuring they slice through soil effortlessly. Store the cultivator somewhere dry to avoid rust.
Can my hand cultivator help with weed control effectively?
A hand cultivator efficiently disrupts young weeds, pulling their fragile roots from the soil before they mature. Regular cultivation halts weed growth cycles and keeps your garden thriving, lush, and vibrant without relying heavily on herbicides.
The hand cultivator proves itself every time you reach for it: simple, sturdy, and quietly effective. It breaks up soil, roots out weeds, and works compost deep where it matters—no fuss, no batteries, just your hands and a well-made tool. Pair it with a hand trowel for the basics, or explore a full kit in beginner-friendly guides. The right tool lets you shape your space and keep your plants thriving. In the end, the hand cultivator isn’t about show; it’s about the quiet satisfaction of soil under your fingernails and a garden that grows better every year.
Pro Tips: Maximizing Your Hand Cultivator's Potential
Timing Your Cultivation
- Loosen soil after rainfall or watering—moist soil simplifies weed removal.
- Cultivate early spring when soil reaches around 45°F (7°C) to accelerate germination and nutrient uptake.
- Avoid cultivation in dry heat above 85°F (29°C) to conserve soil moisture and prevent stress.
Optimal Cultivator Technique
- Angle cultivator prongs at 45° to gently aerate without disrupting root structure of established crops.
- Use shallow strokes (1–2 inches / 2.5–5 cm depth) to prevent soil erosion and preserve beneficial microorganisms.
Organic Weed Management
- Cultivate weekly between plant rows to disrupt weed growth cycles, drastically reducing competition for nutrients.
- Leave uprooted weeds exposed briefly to sun—they compost quickly and enrich soil.
Boosting Soil Nutrition Naturally
- Incorporate compost or aged manure monthly with cultivator to steadily supply nutrients, building long-term soil fertility.
- Blend crushed eggshells into cultivated soil biweekly to enhance calcium levels essential for vegetable health.
Cultivator Maintenance Essentials
- Brush off dirt immediately and occasionally rub steel prongs with linseed oil to prevent corrosion.
- Store cultivators upright, tips upward, to keep edges sharp and effective season-after-season.
Find out which plants will thrive in your garden!
Answer a few fun questions and get custom plant recommendations perfect for your space. Let’s grow something amazing together!

start your season


